There’s an old saying in the camping world: “Out of sight, out of mind.” Unfortunately, when it comes to your RV, that “out of sight” area: your roof: is the one thing that can turn a dream vacation into a soggy, expensive nightmare.
At Chief Camper, we talk to plenty of new owners who are excited about their new gear and first-time trips, but the roof is often the last thing they think about until they see a water spot on the ceiling. If you want to protect your investment and keep your adventures dry, you need a plan.
Maintenance doesn’t have to be a chore that requires a degree in engineering. It’s about consistency, the right tools, and knowing exactly what to do first. Let’s dive into your quick-start guide to mastering RV roof care.
Step 1: Identify Your Roof Type (The “Must-Do” First Step)
Before you even think about climbing a ladder or buying a bottle of cleaner, you have to know what your roof is made of. Using the wrong chemicals on a specific type of roof membrane can cause the material to swell, bubble, or even dissolve.
Most modern RVs use one of three materials:
- EPDM (Ethylene Propylene Diene Monomer): This is essentially a sheet of high-quality rubber. It’s been the industry standard for decades. It’s usually white or gray and can feel a bit chalky or powdery to the touch.
- TPO (Thermoplastic Polyolefin): This is a more modern plastic-based material. It’s usually glossier than EPDM and doesn’t have that “chalky” residue.
- Fiberglass or Aluminum: These are hard surfaces. You’ll mostly find these on premium Class A motorhomes or vintage trailers.
Pro Tip: If you aren’t sure, check your owner’s manual or pull the trim ring off one of your interior roof vents. You can usually see the edge of the roofing material tucked inside.
Knowing your material tells you which cleaners are safe. For example, never use petroleum-based products on a rubber roof. They will eat through it faster than you can say “leak.”
Step 2: The Visual Inspection
Once you know what you’re working with, it’s time to get a bird’s eye view. Safety first: make sure your RV roof is “walkable.” If it’s not, you’ll need to work from a sturdy ladder on the side.
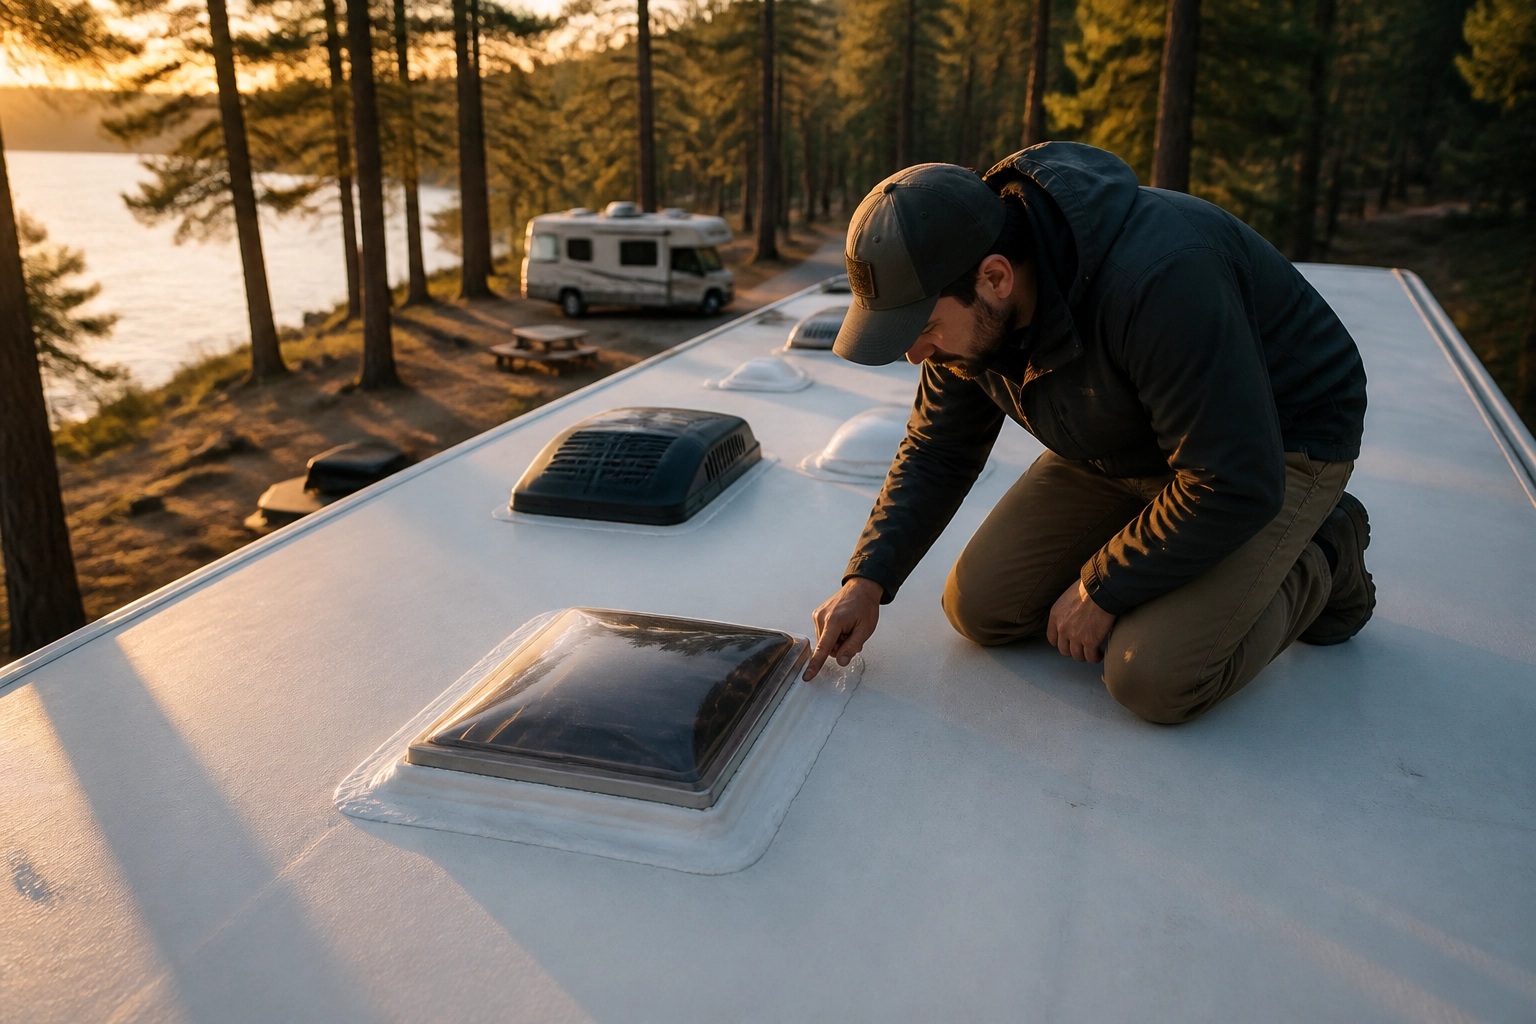
When you’re up there, you aren’t just looking for holes; you’re looking for the “early warning signs.” Pay close attention to:
- Sealant Cracks: Look at every vent, skylight, and antenna. The “goop” (lap sealant) around these items should be smooth and flexible. If it looks like dried-out mud with cracks (known as “alligatoring”), it’s time for a touch-up.
- The “Seams”: Check where the roof meets the side walls and the front/rear caps. These long lines are common failure points.
- Debris: Branches, leaves, and pine needles hold moisture and can lead to mold growth or physical punctures if they get caught under a slide-out.
- Punctures: Even a tiny tear from a low-hanging branch can let in gallons of water over a single rainy night.
Step 3: Gather Your Maintenance Kit
You wouldn’t wash your car with sandpaper, and you shouldn’t wash your RV roof with harsh household chemicals. A dedicated maintenance kit saves you time and ensures you don’t void your warranty.
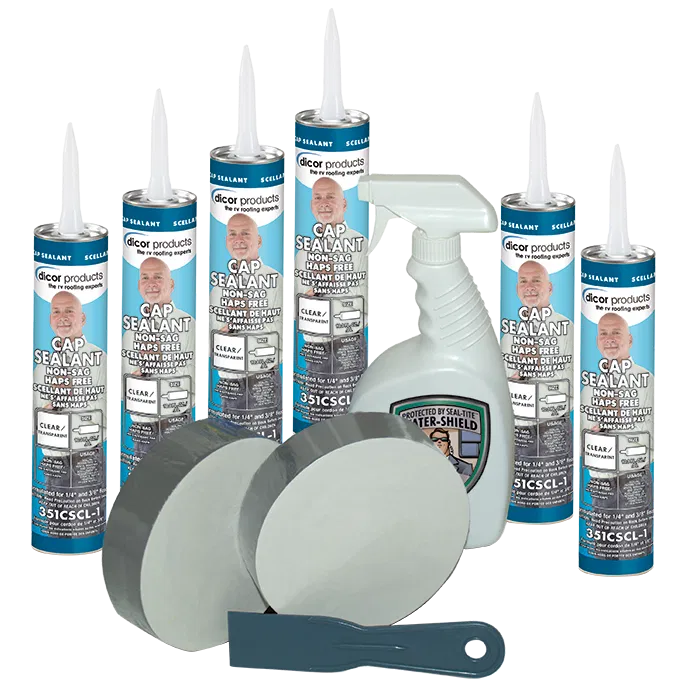
A basic setup should include:
- A soft-bristled brush with a long handle (so you aren’t on your hands and knees).
- A bucket of warm water and specialized RV roof cleaner.
- A plastic scraper (never metal!).
- High-quality lap sealant (like Dicor).
If you are a new owner looking to stock up on all your essentials at once, checking out a Chief’s Kit is a great way to ensure you have the basics covered for your entire rig, from the roof down to the sewer connections.
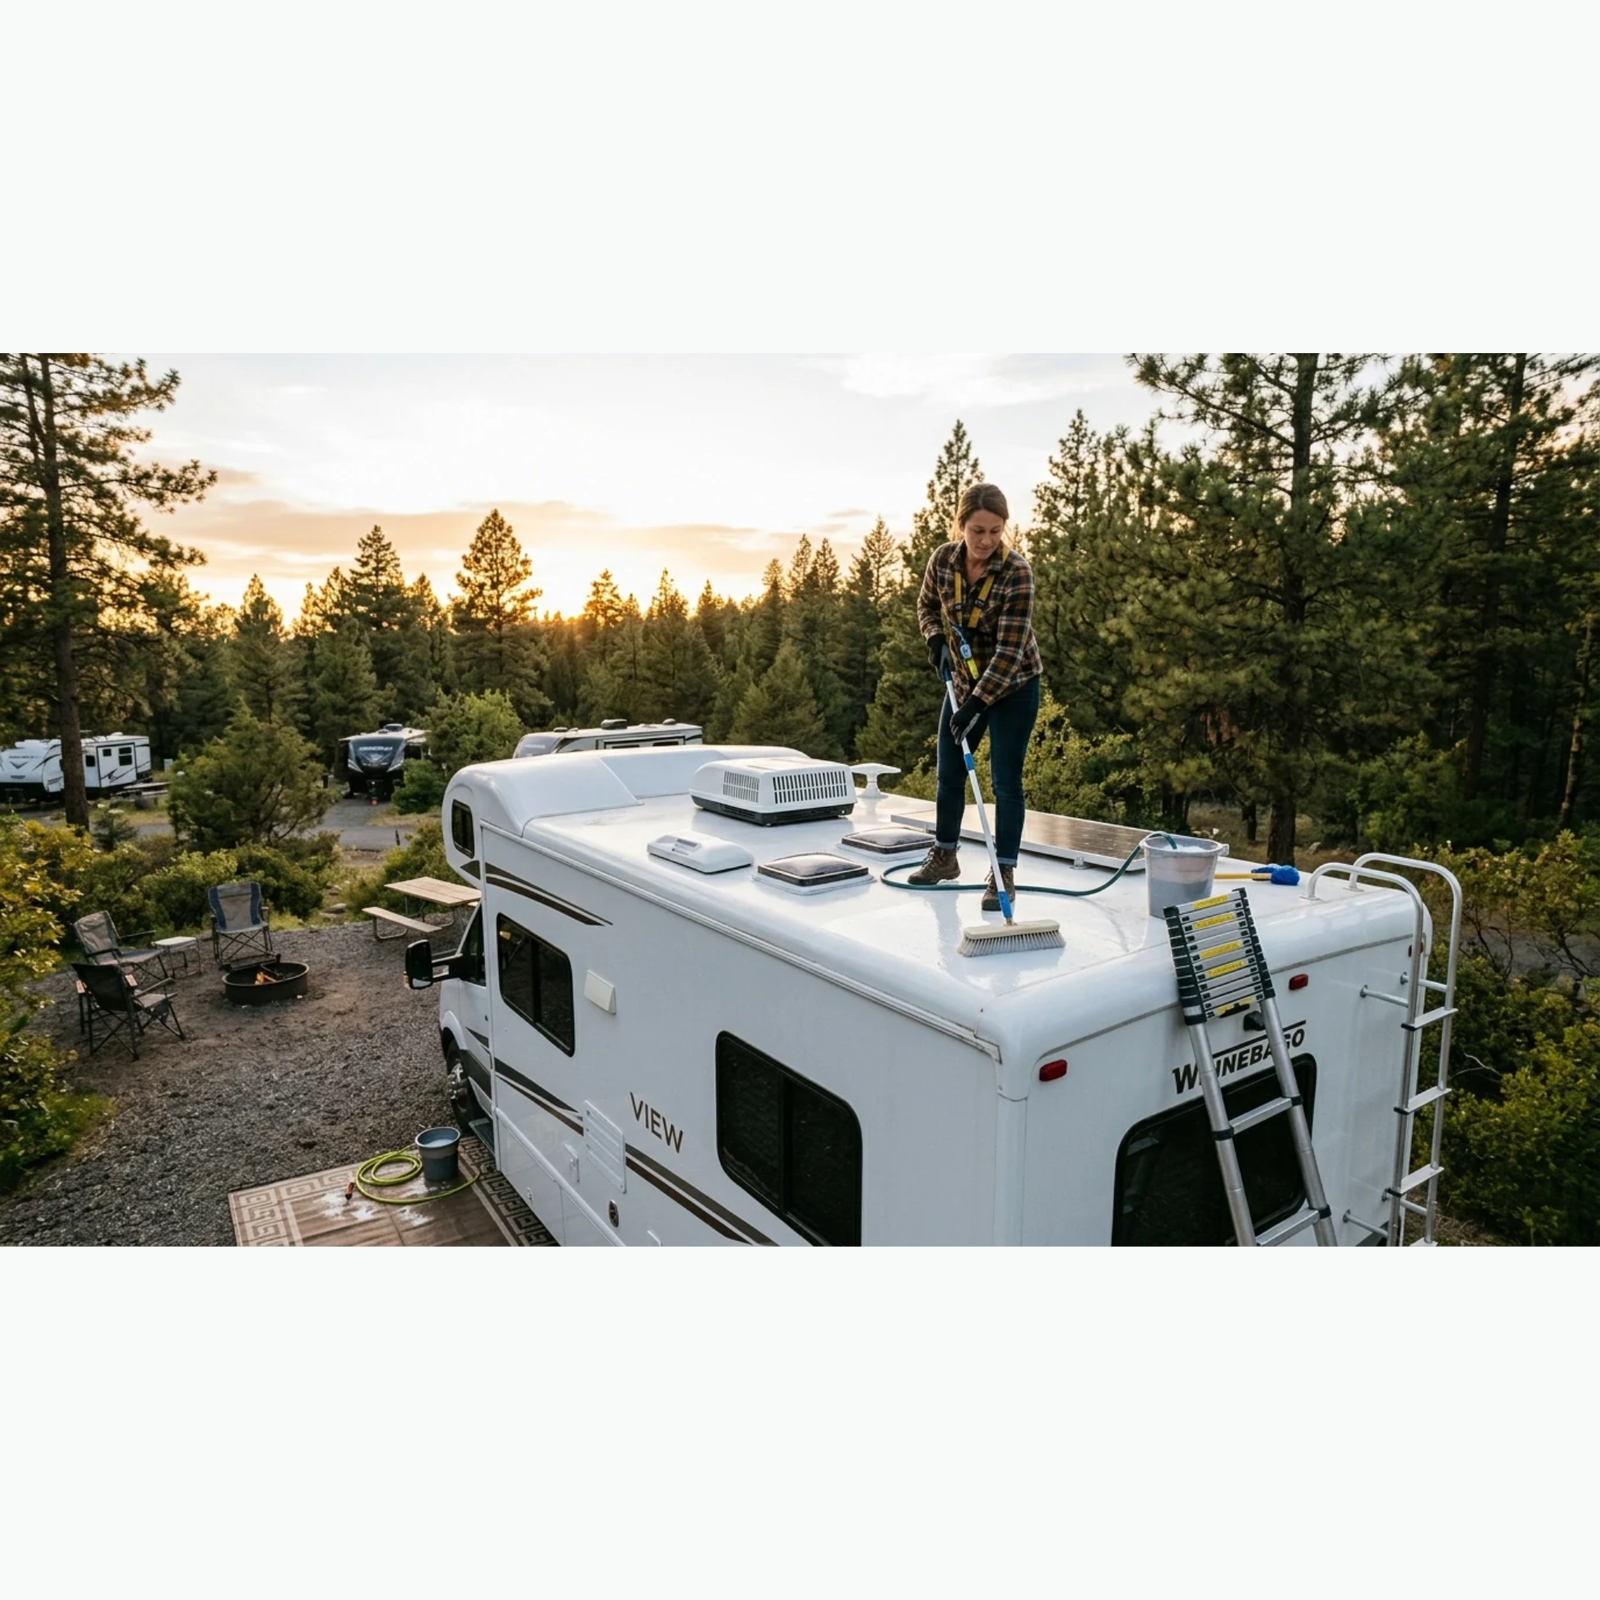
Step 4: The Deep Clean
Cleaning is the most important part of the “resealing” process. Sealant will not stick to a dirty roof.
- Rinse the Sides First: Before you start scrubbing the top, soak the sides of your RV with water. As you wash the roof, the dirt and chemicals will run down the sides. If the sides are dry, that grime can leave permanent “black streaks” on your paint or decals.
- Work in Sections: Don’t try to soap up the whole roof at once. Work in 3×3 foot sections.
- Scrub Gently: Use a circular motion. You aren’t trying to remove the material; you’re just removing the environmental buildup.
- The Final Rinse: Rinse the roof and then rinse the sides of the RV again to make sure no residue is left behind.
Step 5: Sealing and Patching
Once the roof is bone-dry (wait at least a few hours in the sun), you can address those cracks you found during your inspection.
For small cracks in the existing sealant, you don’t always have to scrape everything off. If the old sealant is still stuck well but just has surface cracks, you can clean the area with denatured alcohol and apply a fresh layer of “self-leveling” lap sealant.
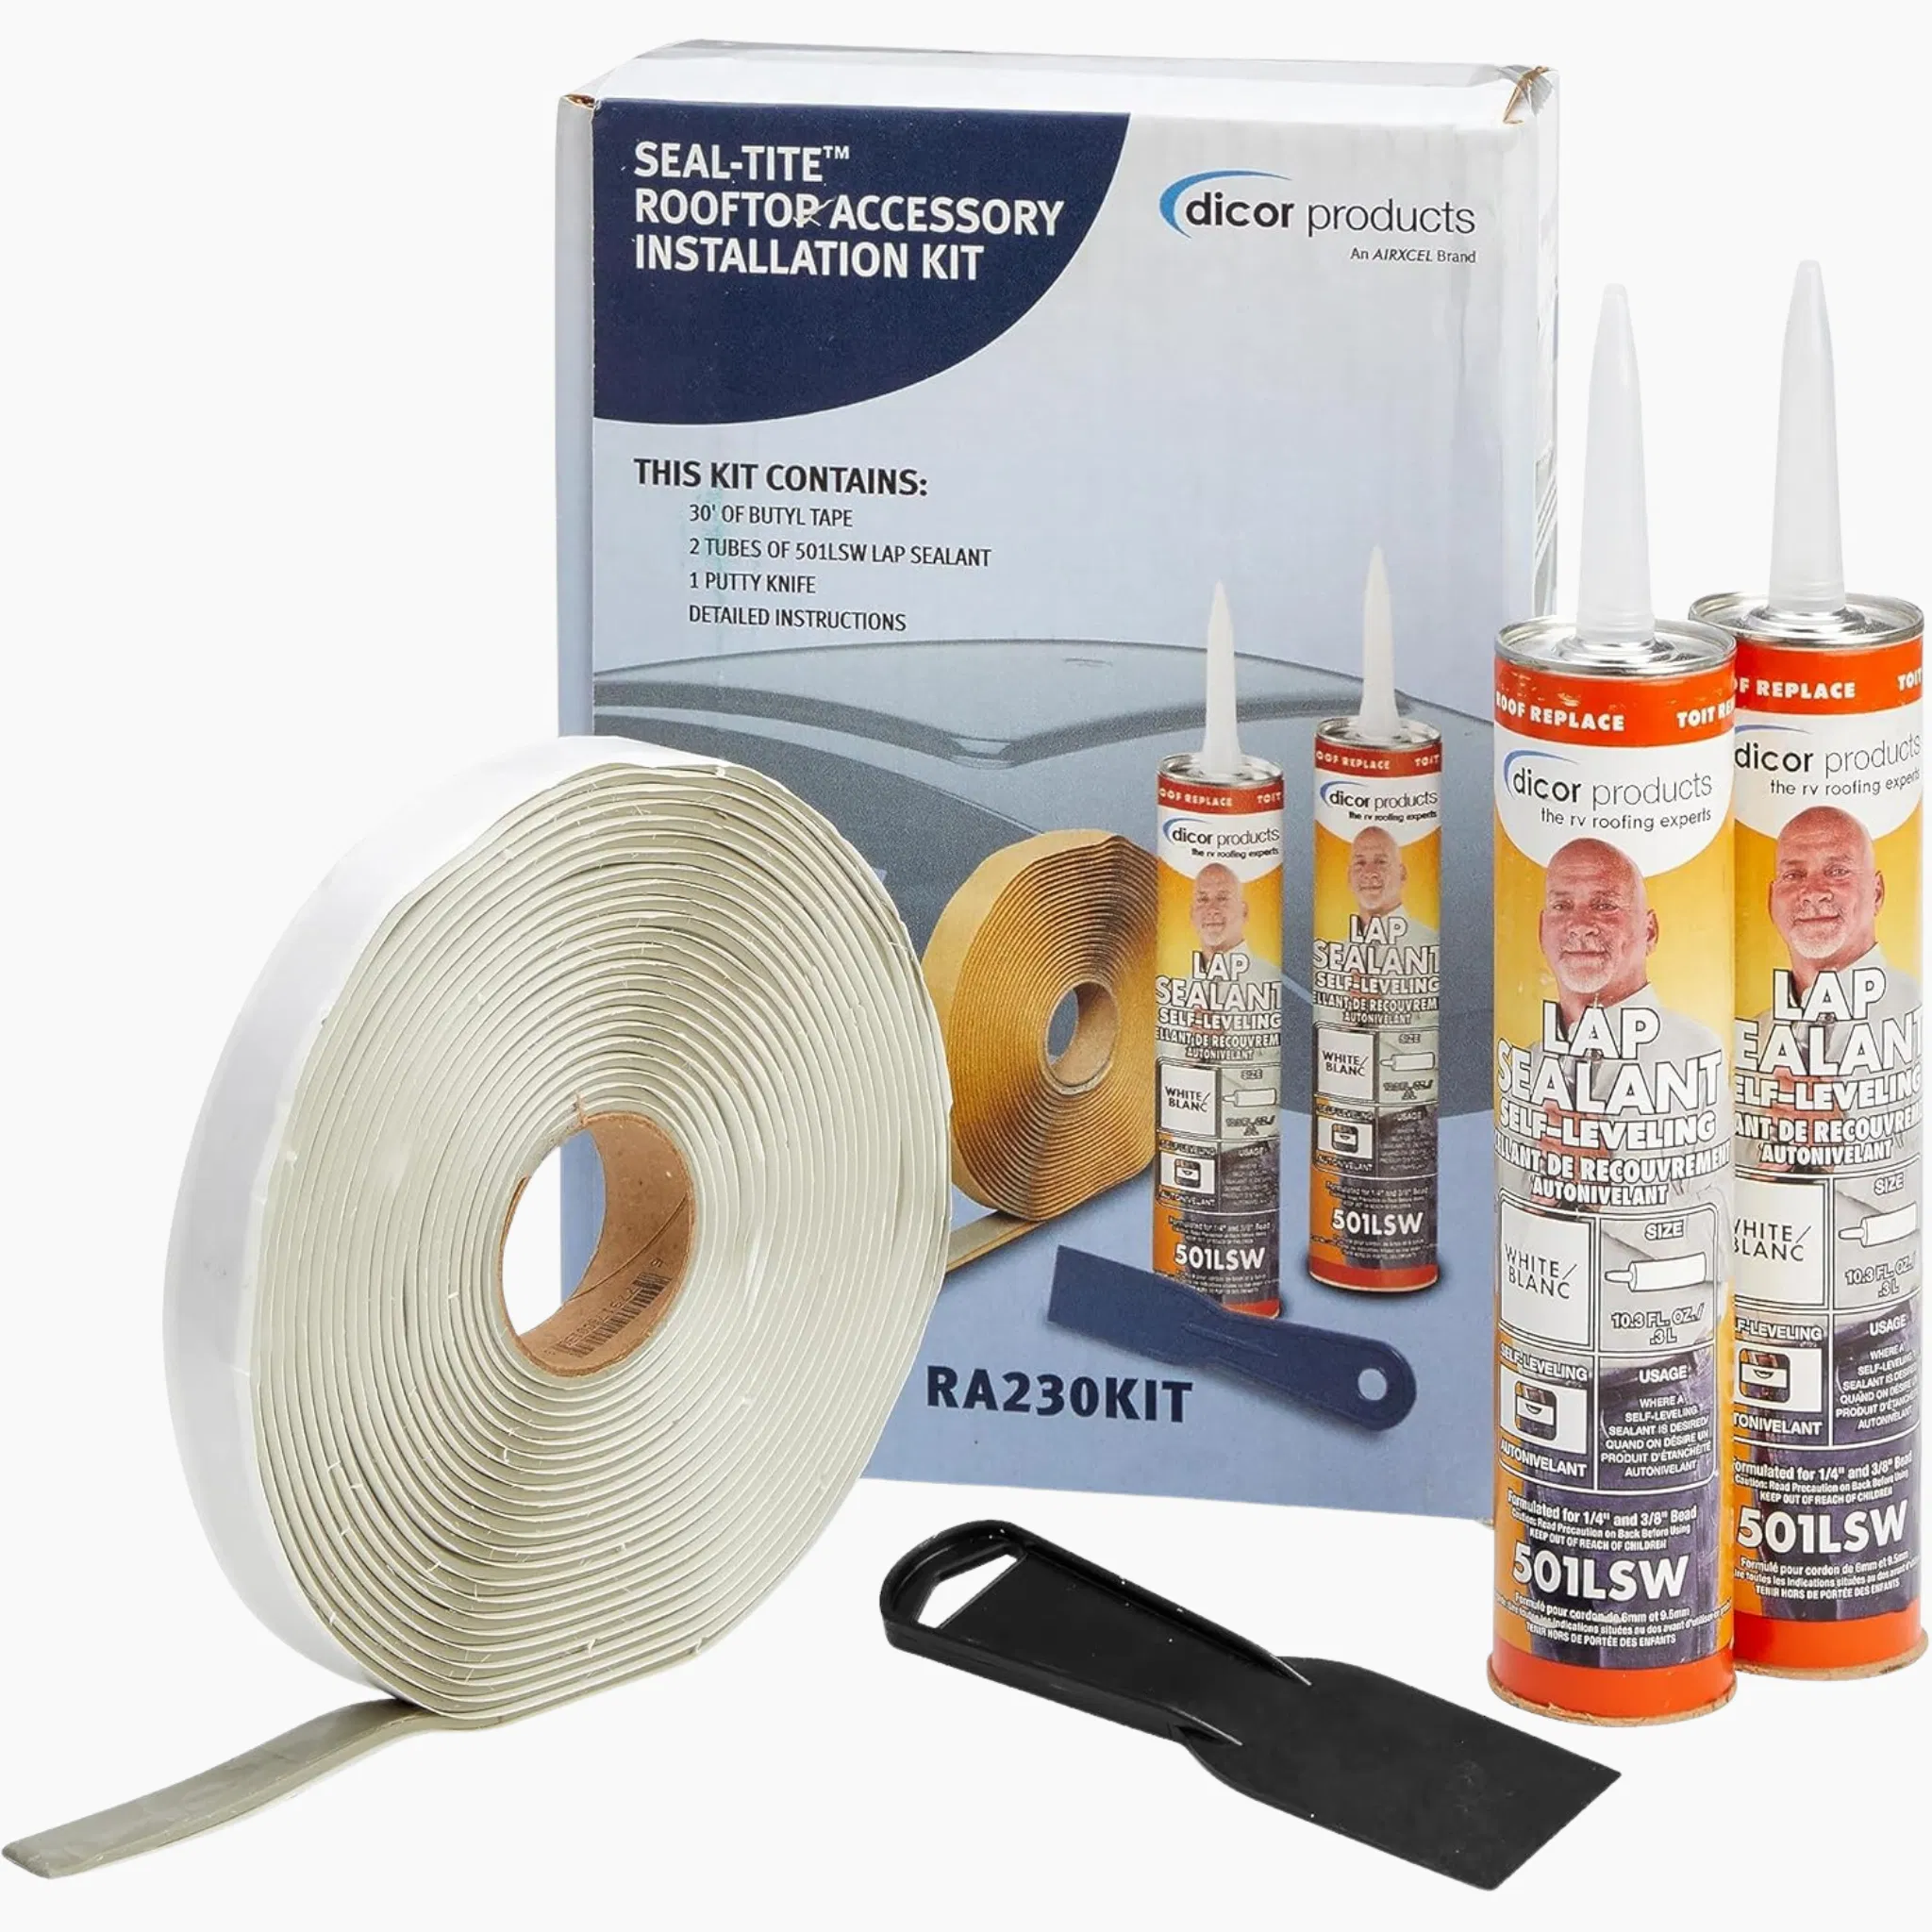
Self-leveling sealant is a camper’s best friend. It goes on thick but slowly spreads out to create a smooth, watertight “puddle” over the seam. If you are working on a vertical surface (like a ladder mount on the back wall), make sure to use “non-leveling” sealant so it doesn’t run down the side of your rig.
Why Maintenance Matters for the Rest of Your Setup
It might seem like roof maintenance is disconnected from the rest of your camping experience, but everything is linked. A leaky roof can ruin your interior, but it also creates hazards for your electronics.
If water gets into the walls, it can short out your surge protectors or damage the wiring to your solar panels. Keeping a dry “lid” on your camper ensures that your campsite setup stays functional.
The Maintenance Schedule to Live By
If you want to avoid the “Big Repair” (which can cost $5,000 to $10,000 for a full roof replacement), stick to this schedule:
- Every Trip: Do a quick walk-around. Look for any new branch scratches.
- Every 3 Months: Get up on the ladder. Do a full visual inspection of the seals.
- Every 6 Months: Give the roof a thorough cleaning with specialized RV soap.
- Yearly: Consider applying a UV protectant. Much like sunscreen for your skin, this prevents the sun from baking your roof and making it brittle.
Safety and Preparation
We cannot stress this enough: RV roofs are slippery when wet. If you are cleaning your roof, wear shoes with excellent grip and always have a spotting partner on the ground.
While you are up there, it’s also a good time to check your AC shroud (the plastic cover over your air conditioner). These often become brittle in the sun and can crack, allowing rain to blow directly into your AC unit.
If you ever feel uncomfortable performing these tasks yourself, don’t hesitate to reach out for professional help. You can even book an RV service in Ontario if you’re in the area and want an expert pair of eyes on your rig.
Adventure-Ready Starts from the Top Down
Camping is about freedom and getting away from the “real world.” It’s hard to enjoy a sunset by the lake when you’re worried about a storm cloud on the horizon. By spending just one afternoon every few months on your roof, you’re buying yourself years of worry-free camping.
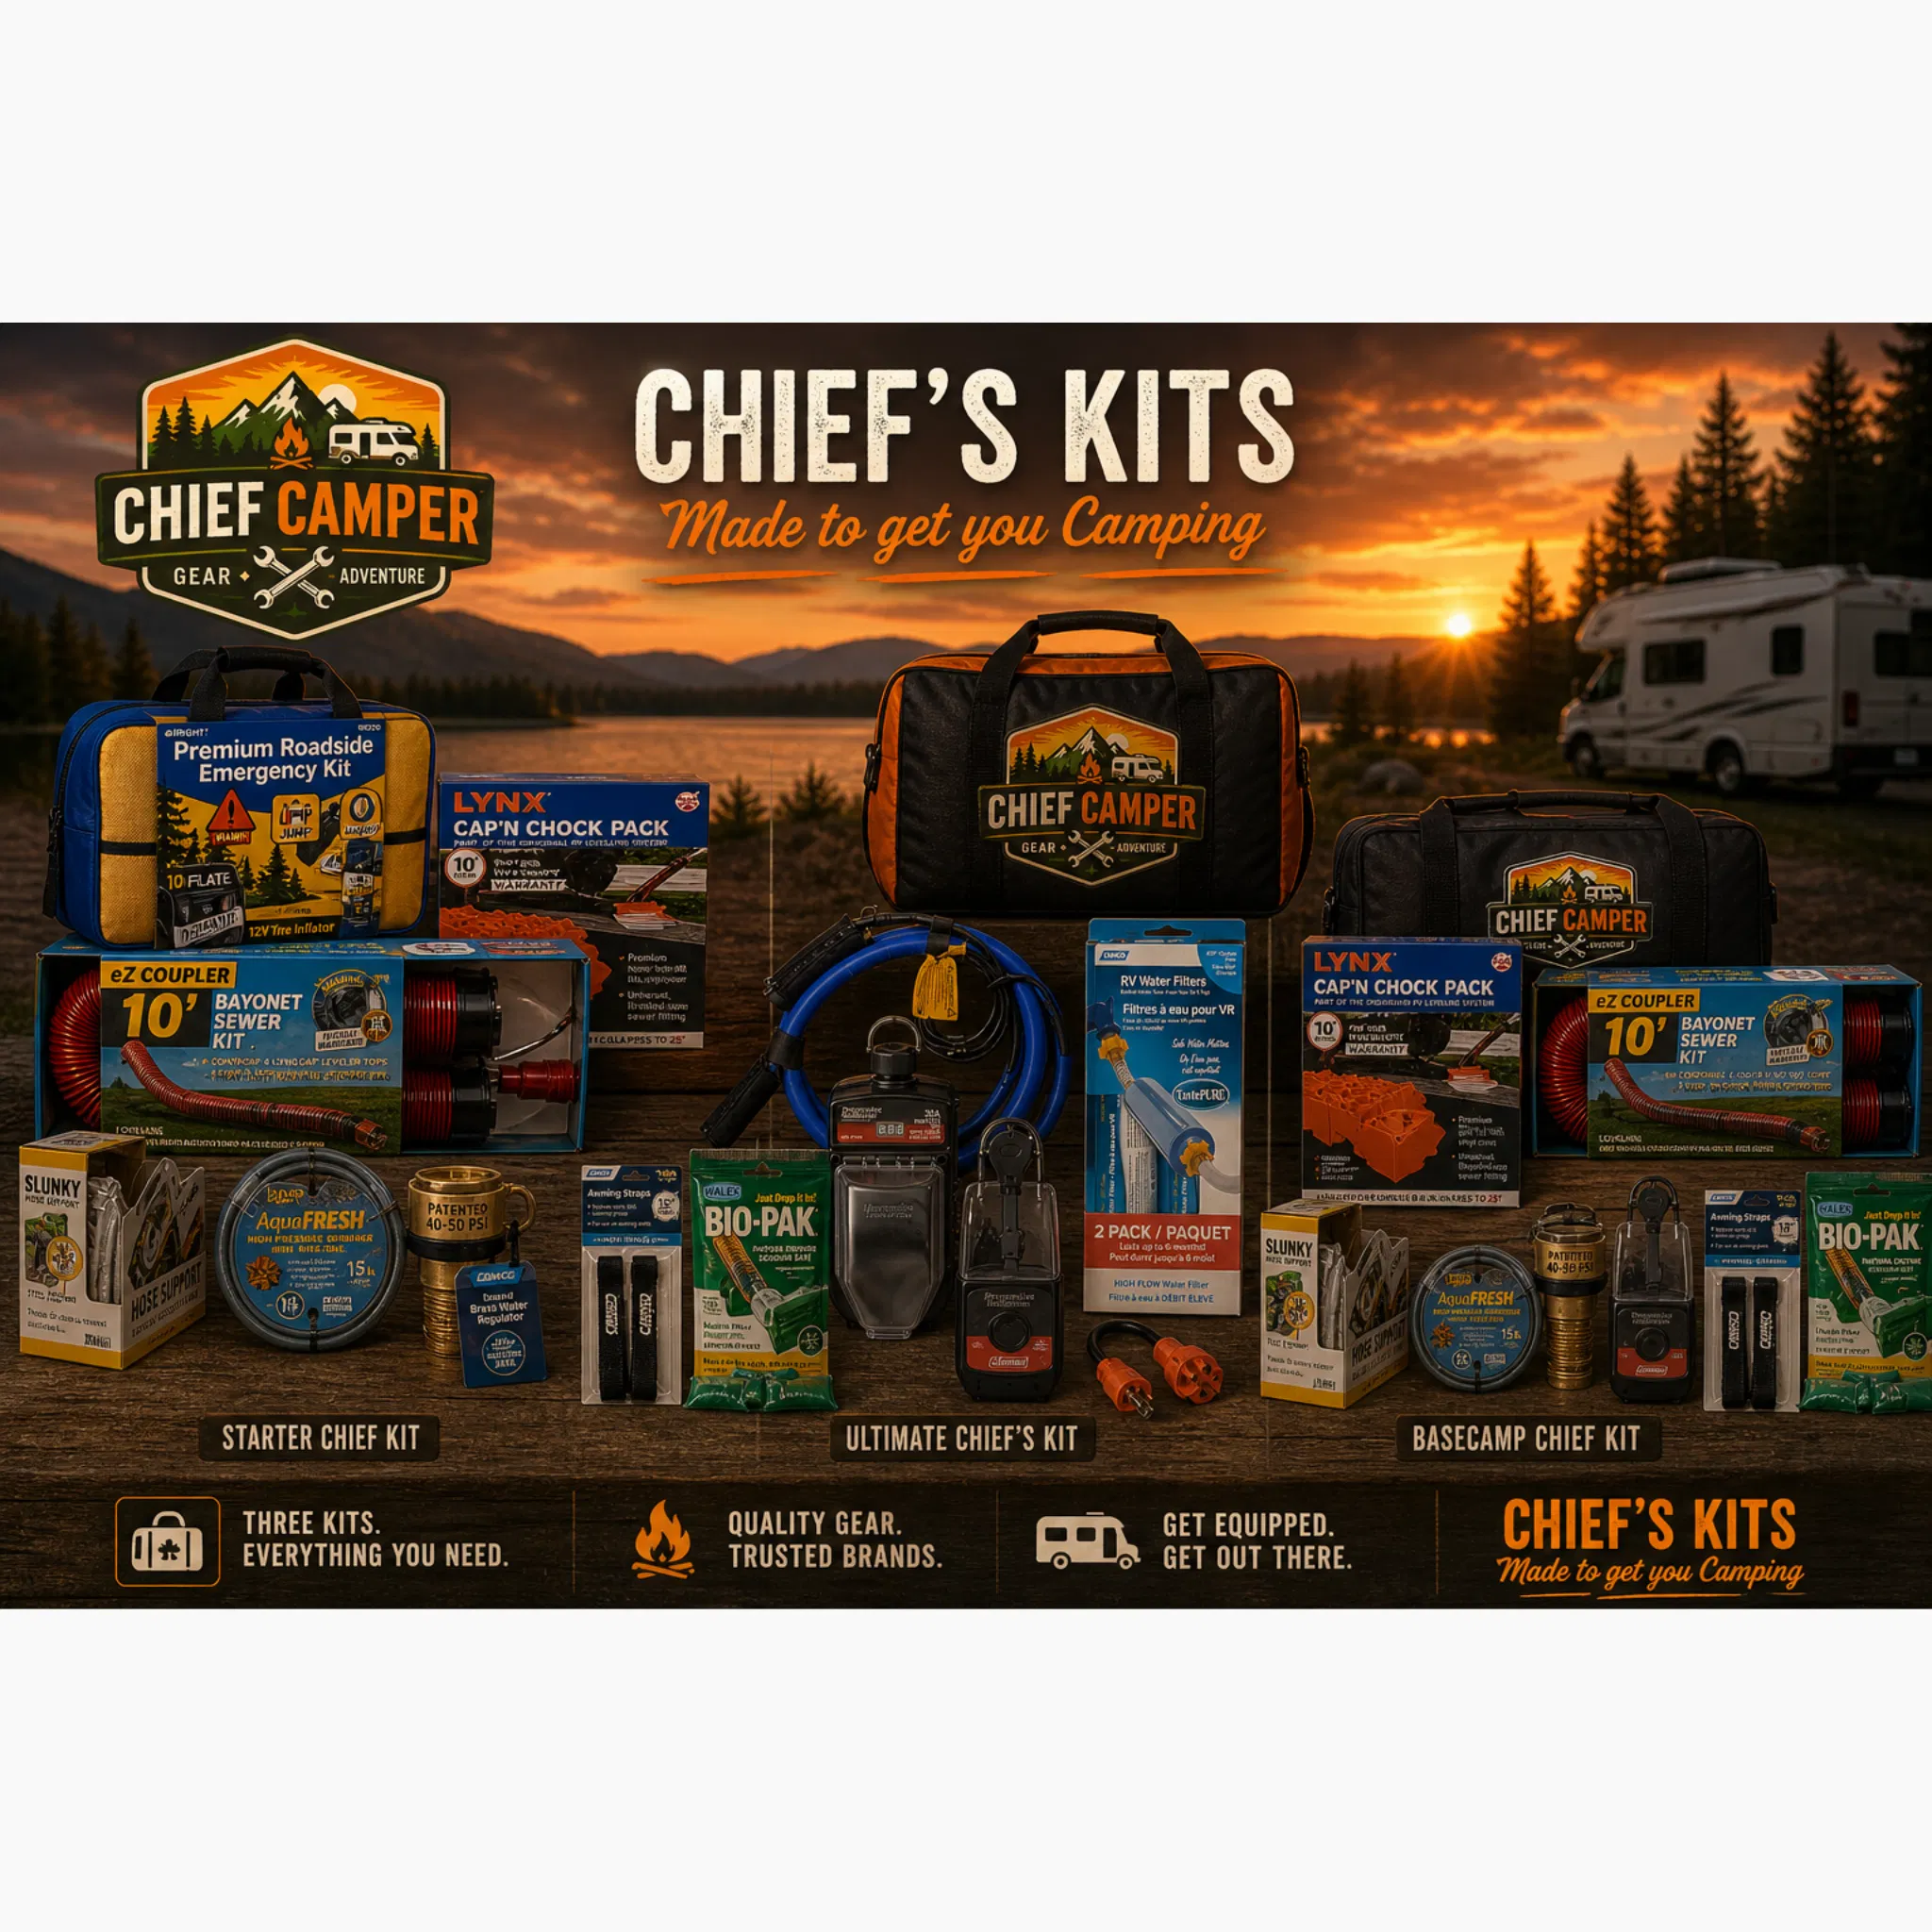
At Chief Camper, we want to make sure every part of your journey: from the moment you hitch up to the moment you level out at the site: is as smooth as possible. For more tips on making your camping life easier, check out our Guides and Blog.
Ready to get started? Grab your ladder, a bucket of soapy water, and give your RV the “overhead” love it deserves. Your future, dry self will thank you! If you have questions about which products are right for your specific model, feel free to contact us anytime. Happy camping!