A dead RV battery in spring is one of the most avoidable problems in camping. Batteries left sitting all winter — especially in the cold, and especially with something in the RV quietly drawing power the whole time — can end up too discharged to hold a charge at all by the time camping season rolls back around. A little attention before you park the rig for winter is usually all it takes to avoid replacing a battery that still had years of life left in it.
Why Batteries Struggle Over Winter
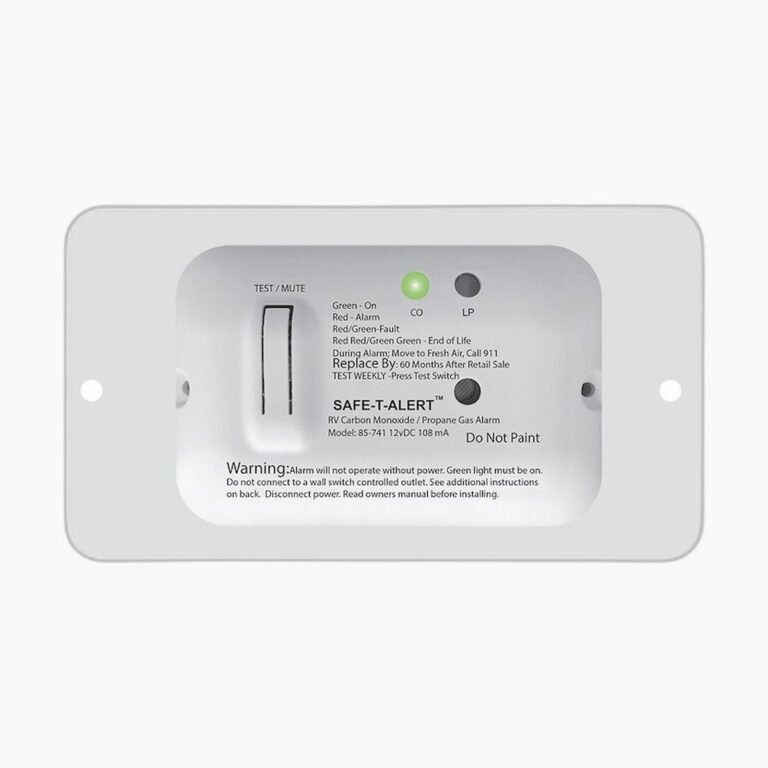
Two things work against a stored RV battery at the same time. First, cold temperatures slow the chemical reactions inside the battery, which reduces both its available capacity and how well it accepts a charge. Second, most RVs have small “parasitic” electrical draws even when everything is switched off — propane detectors, clocks on appliances, and various control boards can pull a small but constant trickle of power. Over weeks or months, that trickle adds up, and a battery that starts winter fully charged can end up deeply discharged by spring if nothing is done.
A deeply discharged lead-acid battery that sits for a long period is at real risk of sulfation — a buildup on the plates that permanently reduces capacity. That’s the scenario this guide is aimed at preventing.
Step 1: Know What Kind of Battery You Have
Standard flooded lead-acid, AGM, and lithium (LiFePO4) batteries all handle winter storage a little differently, so it’s worth confirming which type is in your RV before you do anything else — check the label on the battery itself or your RV’s owner’s manual. Mixing up the care instructions (particularly around charging in cold weather) can shorten the life of either type.
Step 2: Charge It Fully Before Storage — But Know the Right Target
Don’t put your battery away half-charged. For lead-acid batteries, storing at a partial charge accelerates sulfation, so top it off before you park the RV. Lithium batteries are more forgiving of partial discharge, but manufacturers generally recommend storing them at a high state of charge rather than 100% for long idle periods — check your specific battery’s documentation, since guidance varies by manufacturer and chemistry.
Step 3: Reduce or Eliminate the Draw
The single most effective thing you can do is stop the slow drain in the first place. Options, roughly in order of effectiveness:
- Disconnect the battery entirely. Removing the negative terminal (or both terminals) stops all parasitic draw completely. This is the most reliable option if you don’t want to think about the battery again until spring.
- Use a battery disconnect switch, if your RV has one installed, which does the same thing without physically removing cables.
- Leave it connected to a smart charger/maintainer. A quality maintainer monitors the battery and only tops it up when needed, rather than continuously overcharging it the way an old-style trickle charger can. This is the better option if your RV is plugged into shore power over winter and you’d rather not disconnect anything.
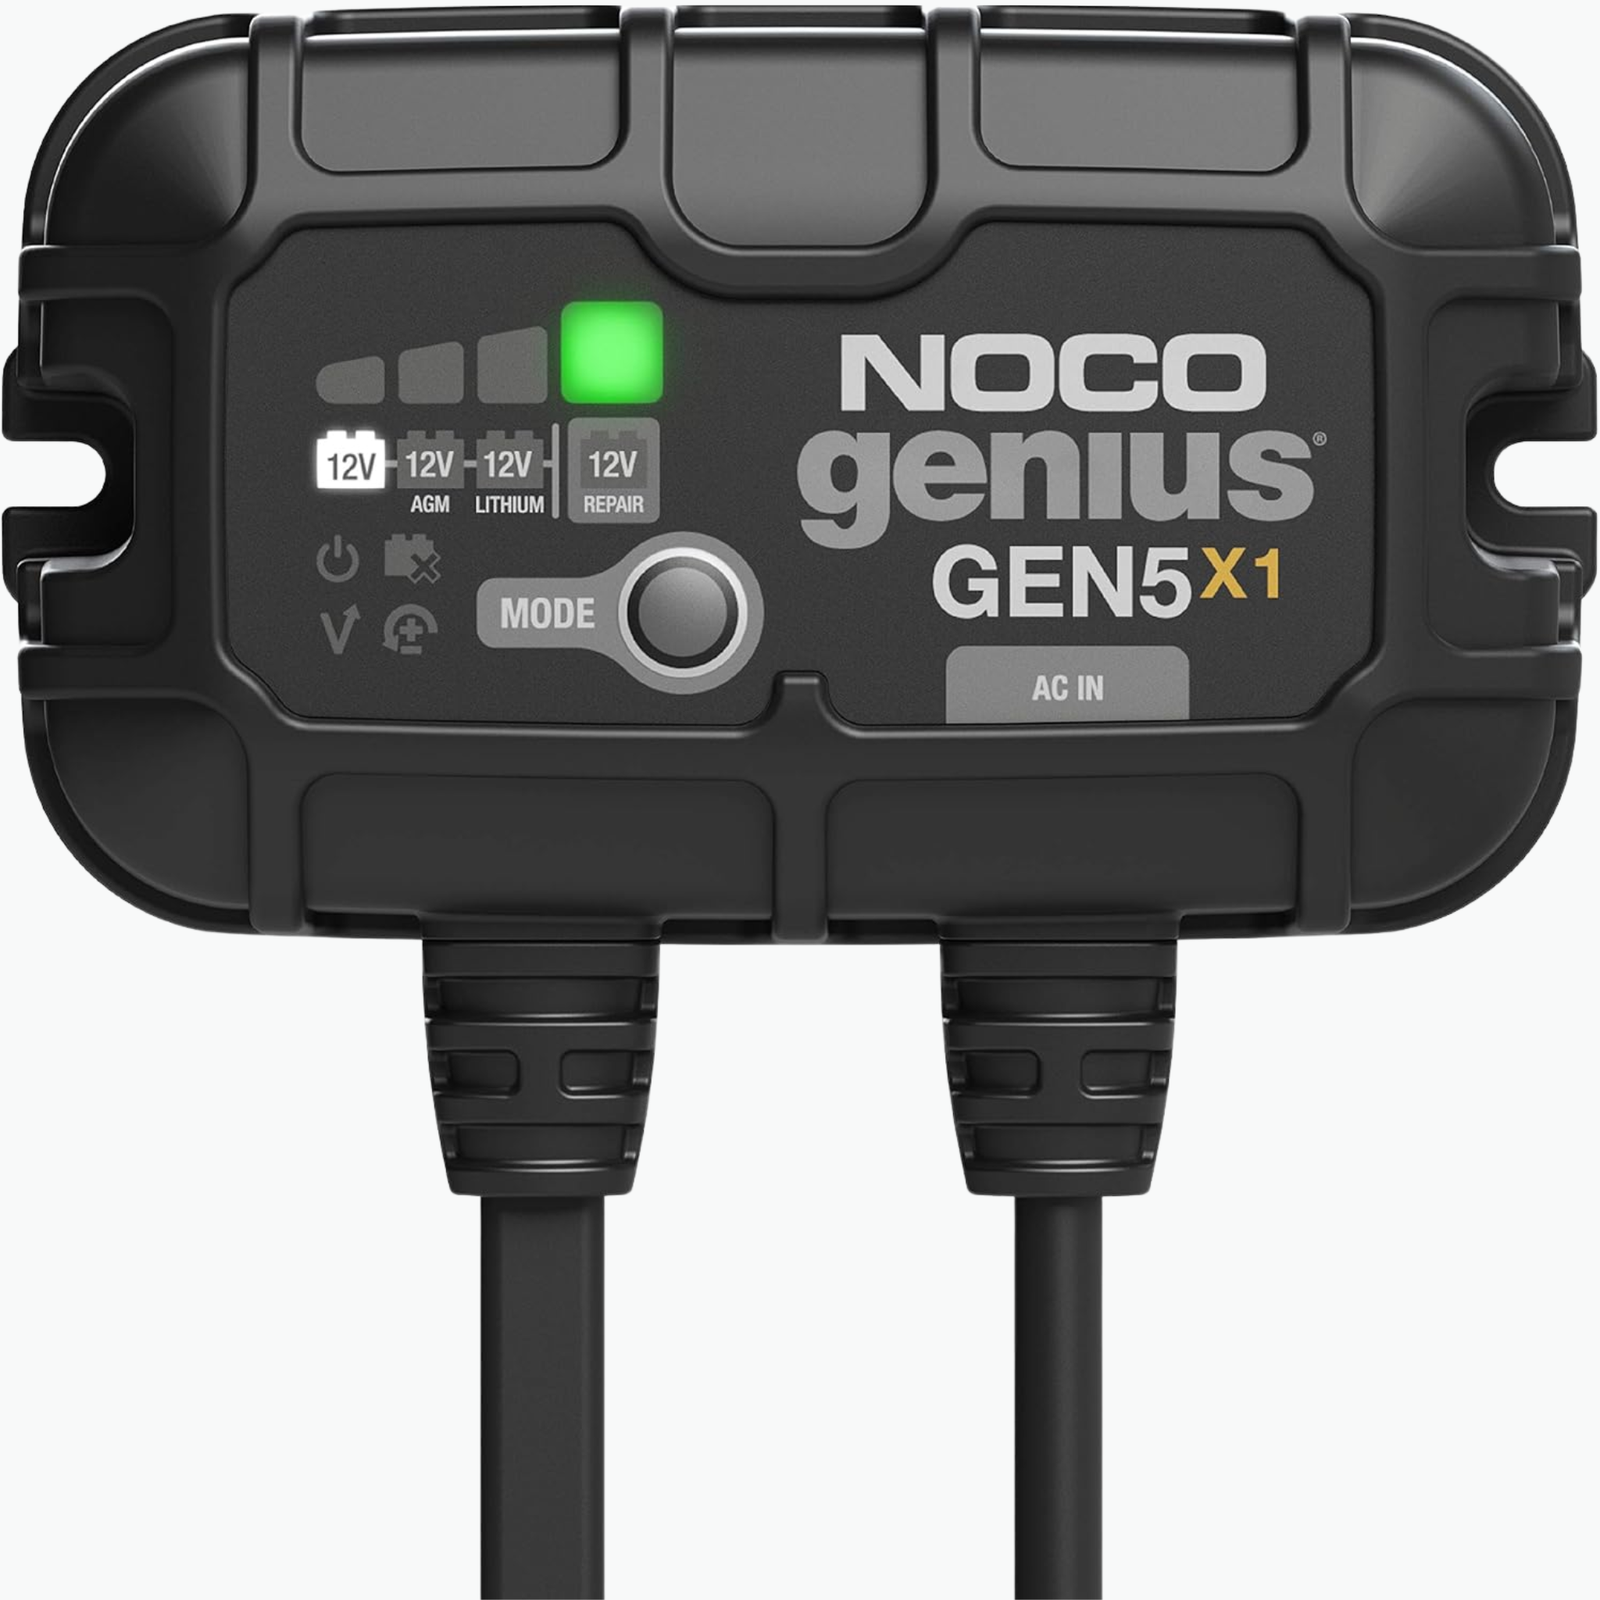
If you’re storing without shore power, disconnecting is simplest. If your RV is parked somewhere with access to an outlet, a maintainer like the NOCO Genius GEN5 on-board charger can stay wired in all winter and keep the battery topped up automatically without you needing to check on it — it’s designed to sit connected long-term rather than being unplugged after each use.
Step 4: Mind the Temperature
Batteries store best somewhere that doesn’t see extreme swings — a garage, basement, or heated storage unit is better than leaving the battery in an unheated RV sitting outside all winter, though that’s not always practical. If you do remove the battery and bring it indoors for storage, keep it somewhere cool and dry rather than somewhere warm, since heat also degrades battery life over time; the goal is moderate and stable, not warm.
One thing worth knowing: charging a lead-acid battery in freezing temperatures can damage it, so if your battery is going to be exposed to hard freezes over winter, this is another reason a maintainer that only charges when conditions allow (many modern smart chargers include temperature compensation) is safer than a basic charger left running blind.
Step 5: Check It Periodically
If you’re not using a maintainer, plan to check the battery every month or two over a long winter. A basic multimeter reading will tell you roughly where it stands, and if it’s dropped noticeably, give it a top-up charge before it sits discharged for weeks longer. This is the step people skip — “out of sight, out of mind” is exactly how a battery ends up fully discharged and damaged by spring.
Lead-Acid vs. Lithium: What Changes
Lead-acid batteries are the ones most at risk from partial-charge storage and cold-weather charging — they’re the chemistry this guide is mostly written around. Lithium (LiFePO4) batteries self-discharge much more slowly, tolerate cold storage better, and don’t suffer the same sulfation risk, but they still shouldn’t be charged below freezing (most lithium battery management systems will actually block charging below a certain temperature automatically, which is a safety feature, not a malfunction). Whichever chemistry you have, your battery’s own documentation is the final word on charge voltages and temperature limits — treat general guidance like this as a starting point, not a substitute for the manufacturer’s numbers.
Putting It Together
The short version: charge the battery fully, stop the parasitic draw (disconnect it or put it on a proper maintainer), store it somewhere temperature-stable if you can, and check on it now and then if nobody’s actively maintaining it. None of this takes long, and it’s a lot cheaper than a replacement battery in April.
Frequently Asked Questions
Can I just leave my RV plugged into shore power all winter instead of dealing with the battery?
If your converter/charger is a smart, multi-stage unit, leaving the RV plugged in can work, since a good converter tapers off once the battery is topped up rather than continuously overcharging it. Older, single-stage converters aren’t as forgiving and can slowly cook a battery over months of constant charging. If you’re not sure which type your RV has, a dedicated battery maintainer wired directly to the battery is the safer bet.
How often should I check a disconnected battery over winter?
A fully charged, disconnected battery holds its charge slowly over weeks, so checking in every month or so is a reasonable middle ground — enough to catch a problem before it becomes serious, without babysitting it constantly.
Is it normal for a battery to lose some charge even when disconnected?
Yes — all batteries self-discharge slowly even with zero load, it’s a normal chemical property rather than a sign of a bad battery. The rate varies by chemistry and by battery age, which is part of why an older battery tends to need more frequent winter attention than a newer one.
If you’re doing a full winter prep pass on the RV, battery care pairs naturally with winterizing the water system — see our guide on winterizing your RV water system — and with towing the rig into storage safely, covered in RV Towing 101.