If you live somewhere that gets a hard freeze, winterizing your RV’s water system isn’t optional — it’s the difference between a quiet, dry winter and a spring full of cracked pipes, a split water heater tank, and a repair bill you didn’t budget for. Water expands by roughly 9% when it freezes, and RV plumbing has nowhere for that expansion to go. A few hours of work now protects a system that costs a lot more to fix than to prevent.
This guide walks through the full process using RV antifreeze, which is the standard method for anyone storing their RV for more than a few weeks in freezing conditions. If you camp through winter and keep your rig heated and in use, you don’t need to do this — this is specifically for storage.
What You’ll Need
- RV/marine antifreeze (non-toxic, propylene glycol-based) — most rigs use somewhere in the 2 to 6 gallon range depending on the length of your plumbing runs and the number of fixtures, so it’s worth having extra on hand
- A water heater bypass kit (many RVs already have one installed from the factory — check the lines running into the back of your water heater)
- A wrench for the water heater drain plug
- A watertight hand pump kit or “siphon” tube, if your RV doesn’t have a built-in pump-antifreeze setup
Important: Only ever use antifreeze labelled specifically for RV or marine potable water systems. Automotive antifreeze is toxic and is not safe in a system you’ll later drink from or wash dishes with — don’t substitute it, even in a pinch.
Step 1: Drain the Fresh Water Tank and Water Lines
Start by draining the fresh water tank completely through its low-point drain. Then open the low-point drains on both the hot and cold water lines (usually a pair of valves or caps near the bottom of the plumbing, often close to where the tank sits). Open a faucet inside the RV at the same time to let air in and help the lines drain faster. Let gravity do its work until nothing more comes out.
Step 2: Bypass the Water Heater
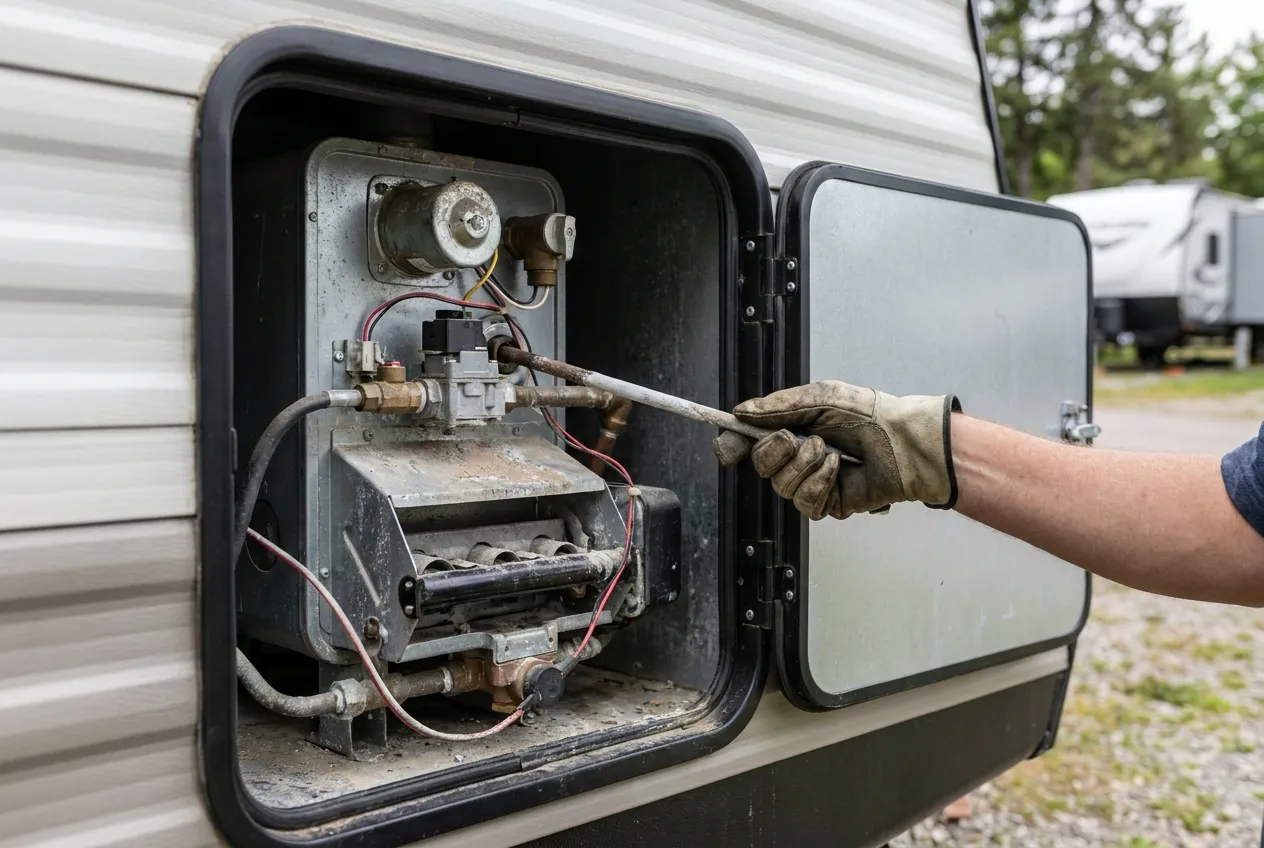
This step matters more than people think. A typical RV water heater tank holds several gallons, and pushing antifreeze through it (instead of around it) wastes most of your antifreeze filling a tank you don’t need to protect — you’re going to drain and leave that tank empty for winter anyway.
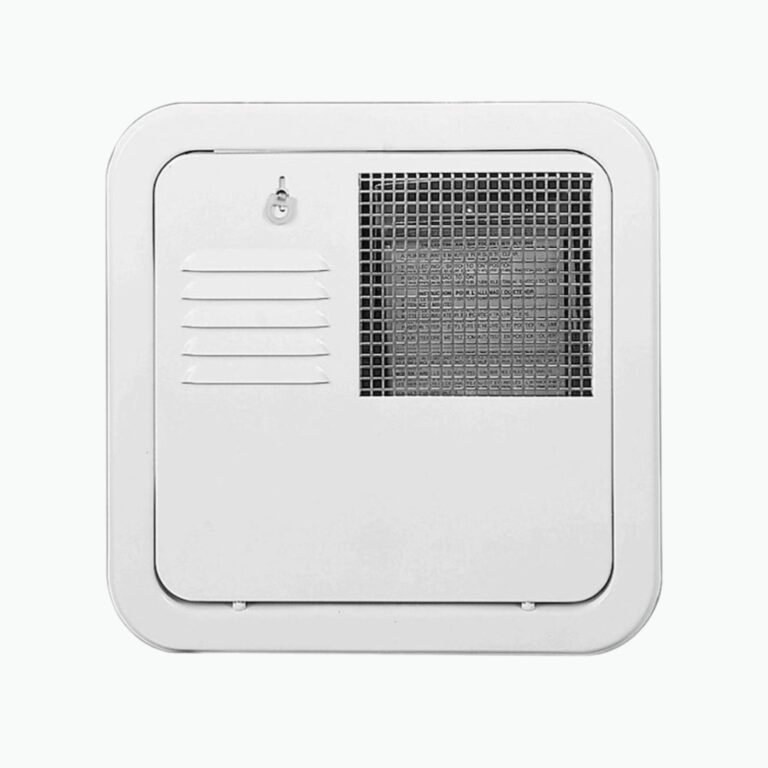
If your RV has a factory-installed bypass kit, you’ll see two or three valves near the water heater. Turning these to the bypass position reroutes water (or antifreeze) around the tank instead of through it. If you’re not sure whether your RV has one, check our RV water heater buying guide — it covers how tank and tankless systems are typically plumbed, which will help you spot the bypass valves on your own setup. If your RV doesn’t have a bypass kit, this is a worthwhile upgrade before winter rather than every year wasting several gallons of antifreeze topping off a tank you’re about to drain.
Step 3: Drain the Water Heater
With the water heater off and fully cooled (opening it hot can cause a burn injury from escaping pressure and hot water), remove the drain plug or anode rod at the bottom of the tank and open the pressure-relief valve on top to let air in so it drains completely. Leave the drain open and the tank empty for winter — do not reinstall the plug until you de-winterize in spring.
Step 4: Pump Antifreeze Through the System
Now you’ll pull antifreeze through the plumbing using your water pump. Most RVs are set up one of two ways:
- Pump bypass/siphon kit: disconnect the pump’s intake line from the fresh water tank and connect a short hose or siphon tube directly into a jug of antifreeze. The pump then draws straight from the jug instead of the tank.
- No bypass kit: pour antifreeze directly into the fresh water tank and run the pump from there — this uses more antifreeze since some will sit in the tank, but it works.
With the pump running, go faucet by faucet, opening the cold side first, then the hot side, until you see pink antifreeze flow steadily from each one (not just a splash). Don’t forget the outside shower, the toilet (flush until it runs pink), and any exterior kitchen or wash stations. A functioning water pump makes this whole process faster and quieter — if yours is straining, cycling on and off, or barely producing pressure, it’s worth checking that it’s still up to the job before you rely on it for winterizing; a heavy-duty replacement water pump is a straightforward swap if the original is on its way out.
Step 5: Handle the Traps and Tanks
Pour a small amount of antifreeze directly down each drain (sinks, shower) to protect the P-traps, which hold standing water even after the main lines are dry. For the black and gray tanks, a cup or two of antifreeze poured down the toilet and drains helps protect the tank fittings and valves, though the tanks themselves are less prone to damage than rigid plumbing lines since they’re empty of standing water once drained. If you want to give the tanks a proper flush beforehand — clearing out debris before you winterize rather than sealing it in for months — a tank rinser makes that job much easier than trying to flush by hand.
Step 6: Double-Check Everything
Once antifreeze is running from every fixture, turn off the pump and open one faucet briefly to relieve line pressure. Check that:
- The water heater bypass valves are still in the bypass position
- The water heater drain is open and the tank is empty
- The fresh water tank drain is open (don’t leave it closed over winter — trapped water can still freeze and crack the tank)
- The ice maker line, if your RV has a residential-style fridge, was NOT run with antifreeze — check your fridge manual, since some ice maker lines need to be disconnected and drained separately rather than filled with antifreeze
A Few Common Mistakes
The biggest one is skipping the water heater bypass and wasting antifreeze filling a tank that’s about to be drained anyway. The second is stopping too early — a faint pink tinge at the faucet isn’t the same as a steady flow, and lines that only get a token amount of antifreeze can still have pockets of plain water sitting in low spots. The third is forgetting exterior fixtures like an outdoor shower or a washer/dryer prep hookup, which are easy to miss because they’re not part of the everyday routine.
If you also winterize your fresh water filter setup, take a look at our guides on choosing an RV water filter and the water filter cartridge guide — cartridges left in over a cold, damp winter storage period can grow mold or crack if they freeze, so most manufacturers recommend removing them before storage and installing fresh ones in spring. And if you’re not sure your regulator survived the season, our piece on RV water pressure regulators covers what to look for before you hook back up to a campground spigot next spring.
When You’re Ready to De-Winterize
In spring, the process runs in reverse: flip the bypass valves back, reinstall the water heater drain plug, sanitize the fresh water tank and lines (a diluted bleach solution is the standard method, followed by a thorough flush), and run water through every fixture until the antifreeze taste and smell are gone before drinking or cooking with it.
Winterizing takes an afternoon. Not winterizing can mean a new water heater, a cracked fresh water tank, or split PEX lines behind a wall you can’t easily get to. If you camp in freeze country and you’re storing the RV for the season, it’s one of the few maintenance jobs that genuinely pays for itself the first time it saves you from a burst line.