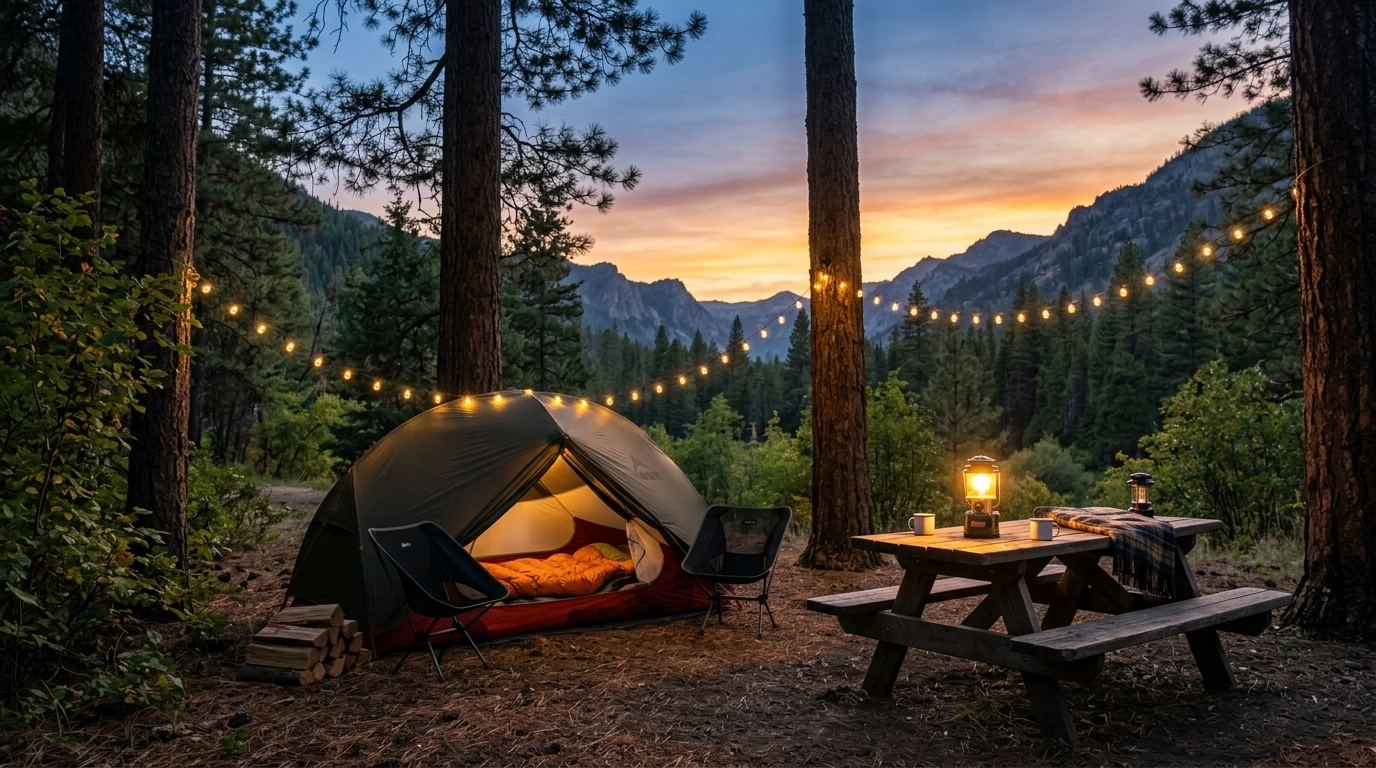
There’s something magical about the moment the sun dips below the horizon and the woods start to turn that deep, velvety blue. But for a beginner camper, that magic can quickly turn into a frantic search for a tent zipper or a stubbed toe on a stray tree root if you aren’t prepared.
At Chief Camper, we believe that camping should be about relaxation, not wrestling with the dark. Proper lighting is the secret ingredient that transforms a cold, dark patch of woods into a warm, inviting home away from home. Whether you’re pitching a tent for the first time or setting up your van for a weekend getaway, getting your lighting right is the fastest way to level up your outdoor experience.
In this guide, we’re going to break down the best lighting options for beginners: from the practical “I need to see my shoes” utility to the “this looks like a Pinterest board” cozy vibes.
1. Utility First: Why Headlamps are Your Best Friend
If you buy only one piece of lighting gear for your first trip, make it a headlamp. We know, they can look a little dorky, but trust us: once you’ve tried to cook dinner or set up a tent while holding a flashlight in your teeth, you’ll be a headlamp convert for life.
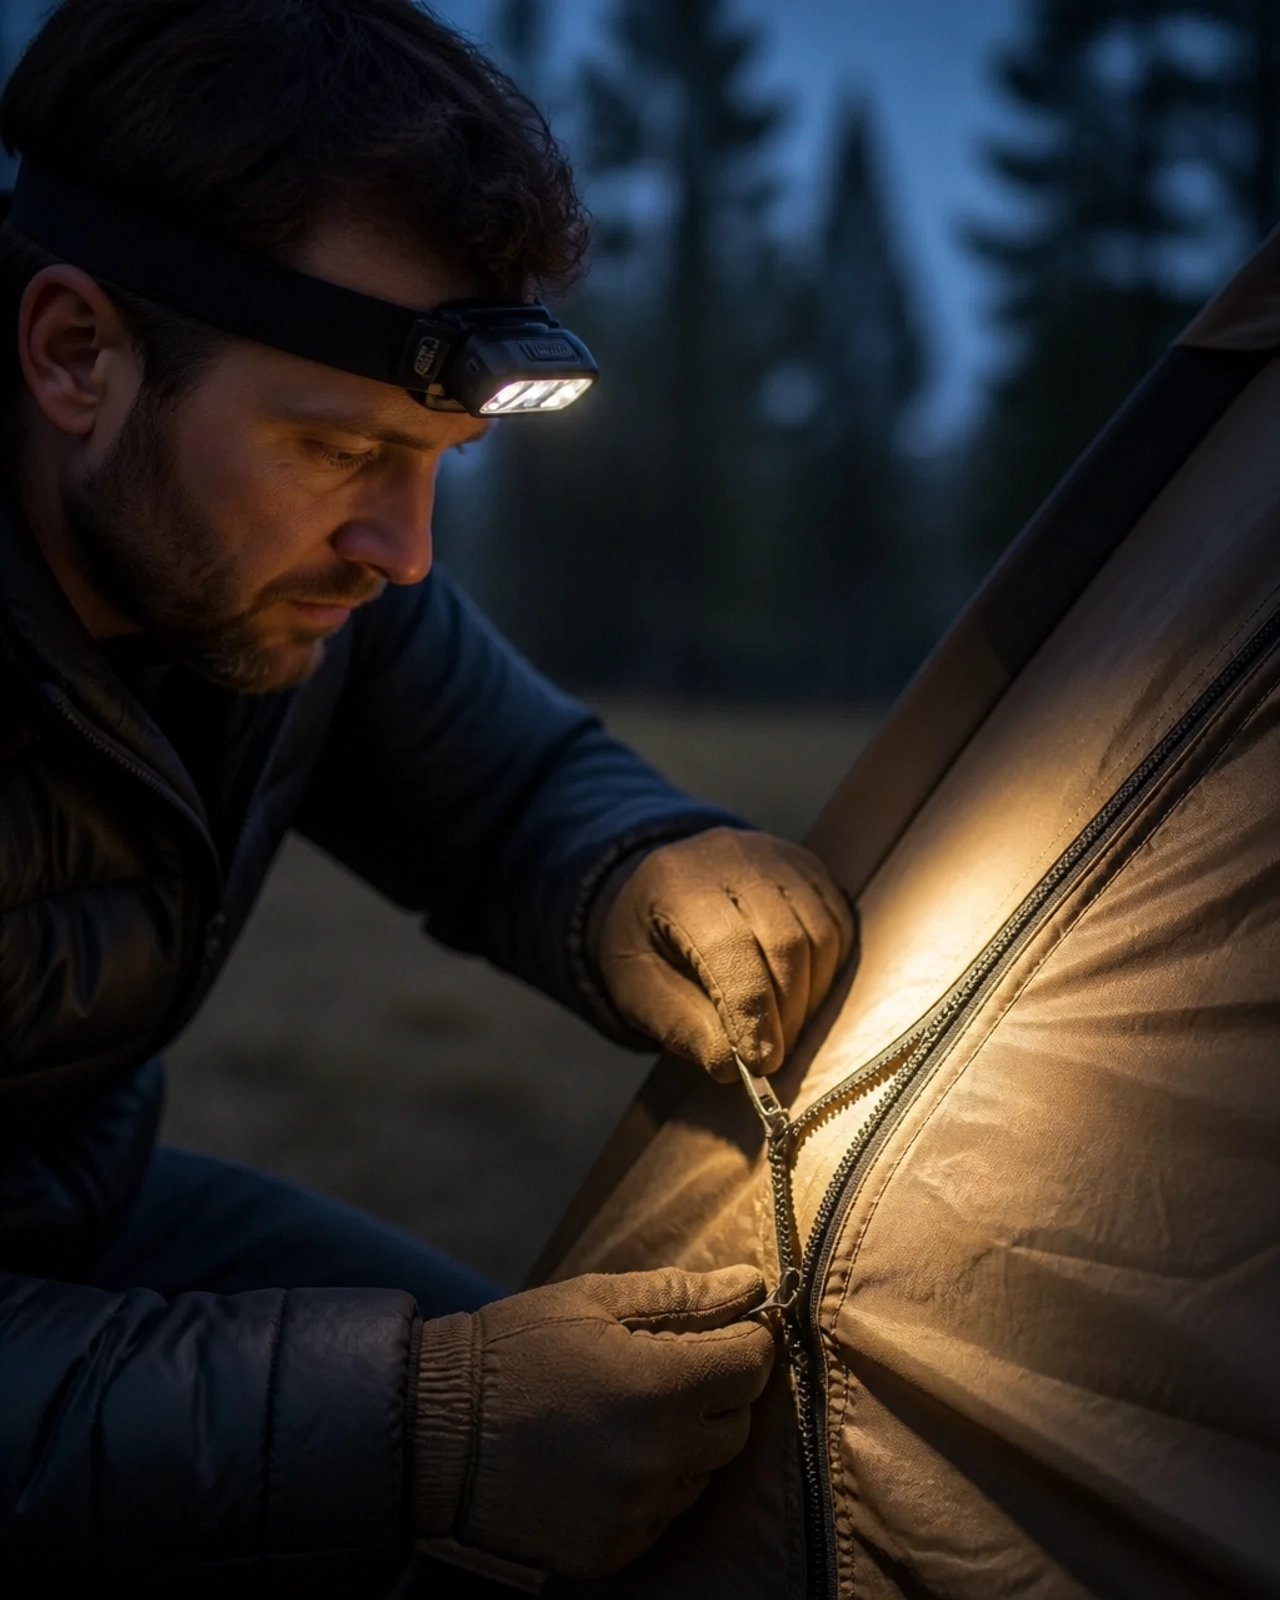
Hands-Free is the Way to Be
The biggest advantage of a headlamp is that it leaves your hands free for the actual work of camping. Whether you’re gathering wood for the fire, reading a book in your sleeping bag, or making a late-night trek to the washroom, having the light move wherever your eyes go is a total game-changer.
What to look for in a beginner headlamp:
- Comfortable Straps: You’ll likely be wearing it for hours, so make sure the band is soft and adjustable.
- Red Light Mode: This is a pro-tip for beginners. Red light preserves your night vision and won’t blind your campmates when you look at them. Plus, it doesn’t attract as many bugs!
- Tilt Function: Look for a lamp that tilts down so you can see your hands without straining your neck.
For more camping essentials, keeping your “utility” lighting separate from your “ambience” lighting is key to a functional site.
2. The Social Hub: Choosing the Right Lantern
While headlamps are for tasks, lanterns are for the group. They provide the “ambient” light that fills a space, making it easy to play cards at the picnic table or prep a meal at your trail kitchen.
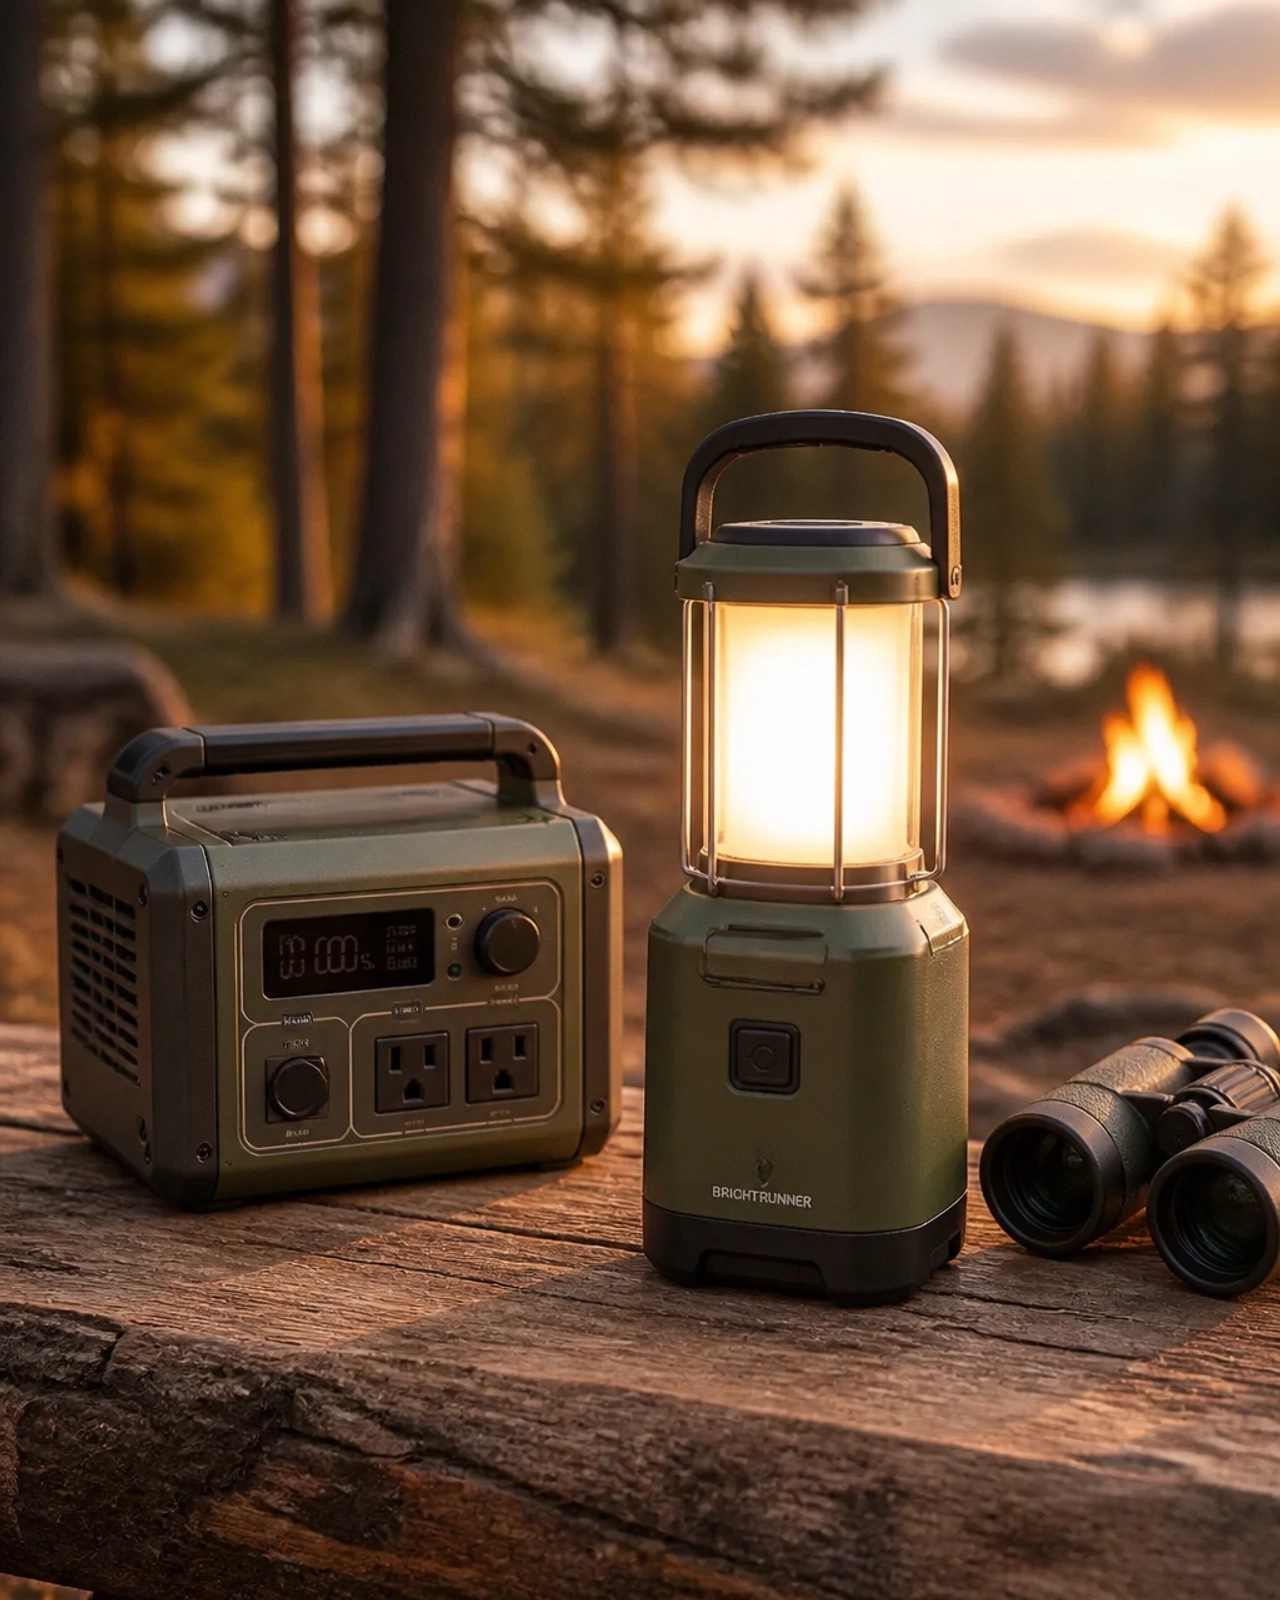
LED vs. Fuel Lanterns
In the past, most campers used propane or white gas lanterns. While they put off a lot of heat and a classic “hissing” sound, they can be a bit intimidating for beginners because they involve fire and mantles.
For most modern campers, LED lanterns are the clear winner. They are safer (no fire risk inside the tent!), more durable, and often come with extra features like USB ports to charge your phone.
Lantern Placement Tips:
- The Picnic Table: Place a lantern in the center of the table for communal activities.
- The Hanging Hook: Most tents have a small loop at the top. Hanging a lightweight LED lantern here provides perfect “room” lighting.
- The Diffusion Trick: If your lantern is too bright, try hanging a translucent white water bottle in front of it to soften the glow.
3. Setting the Vibe: String Lights and Ambiance
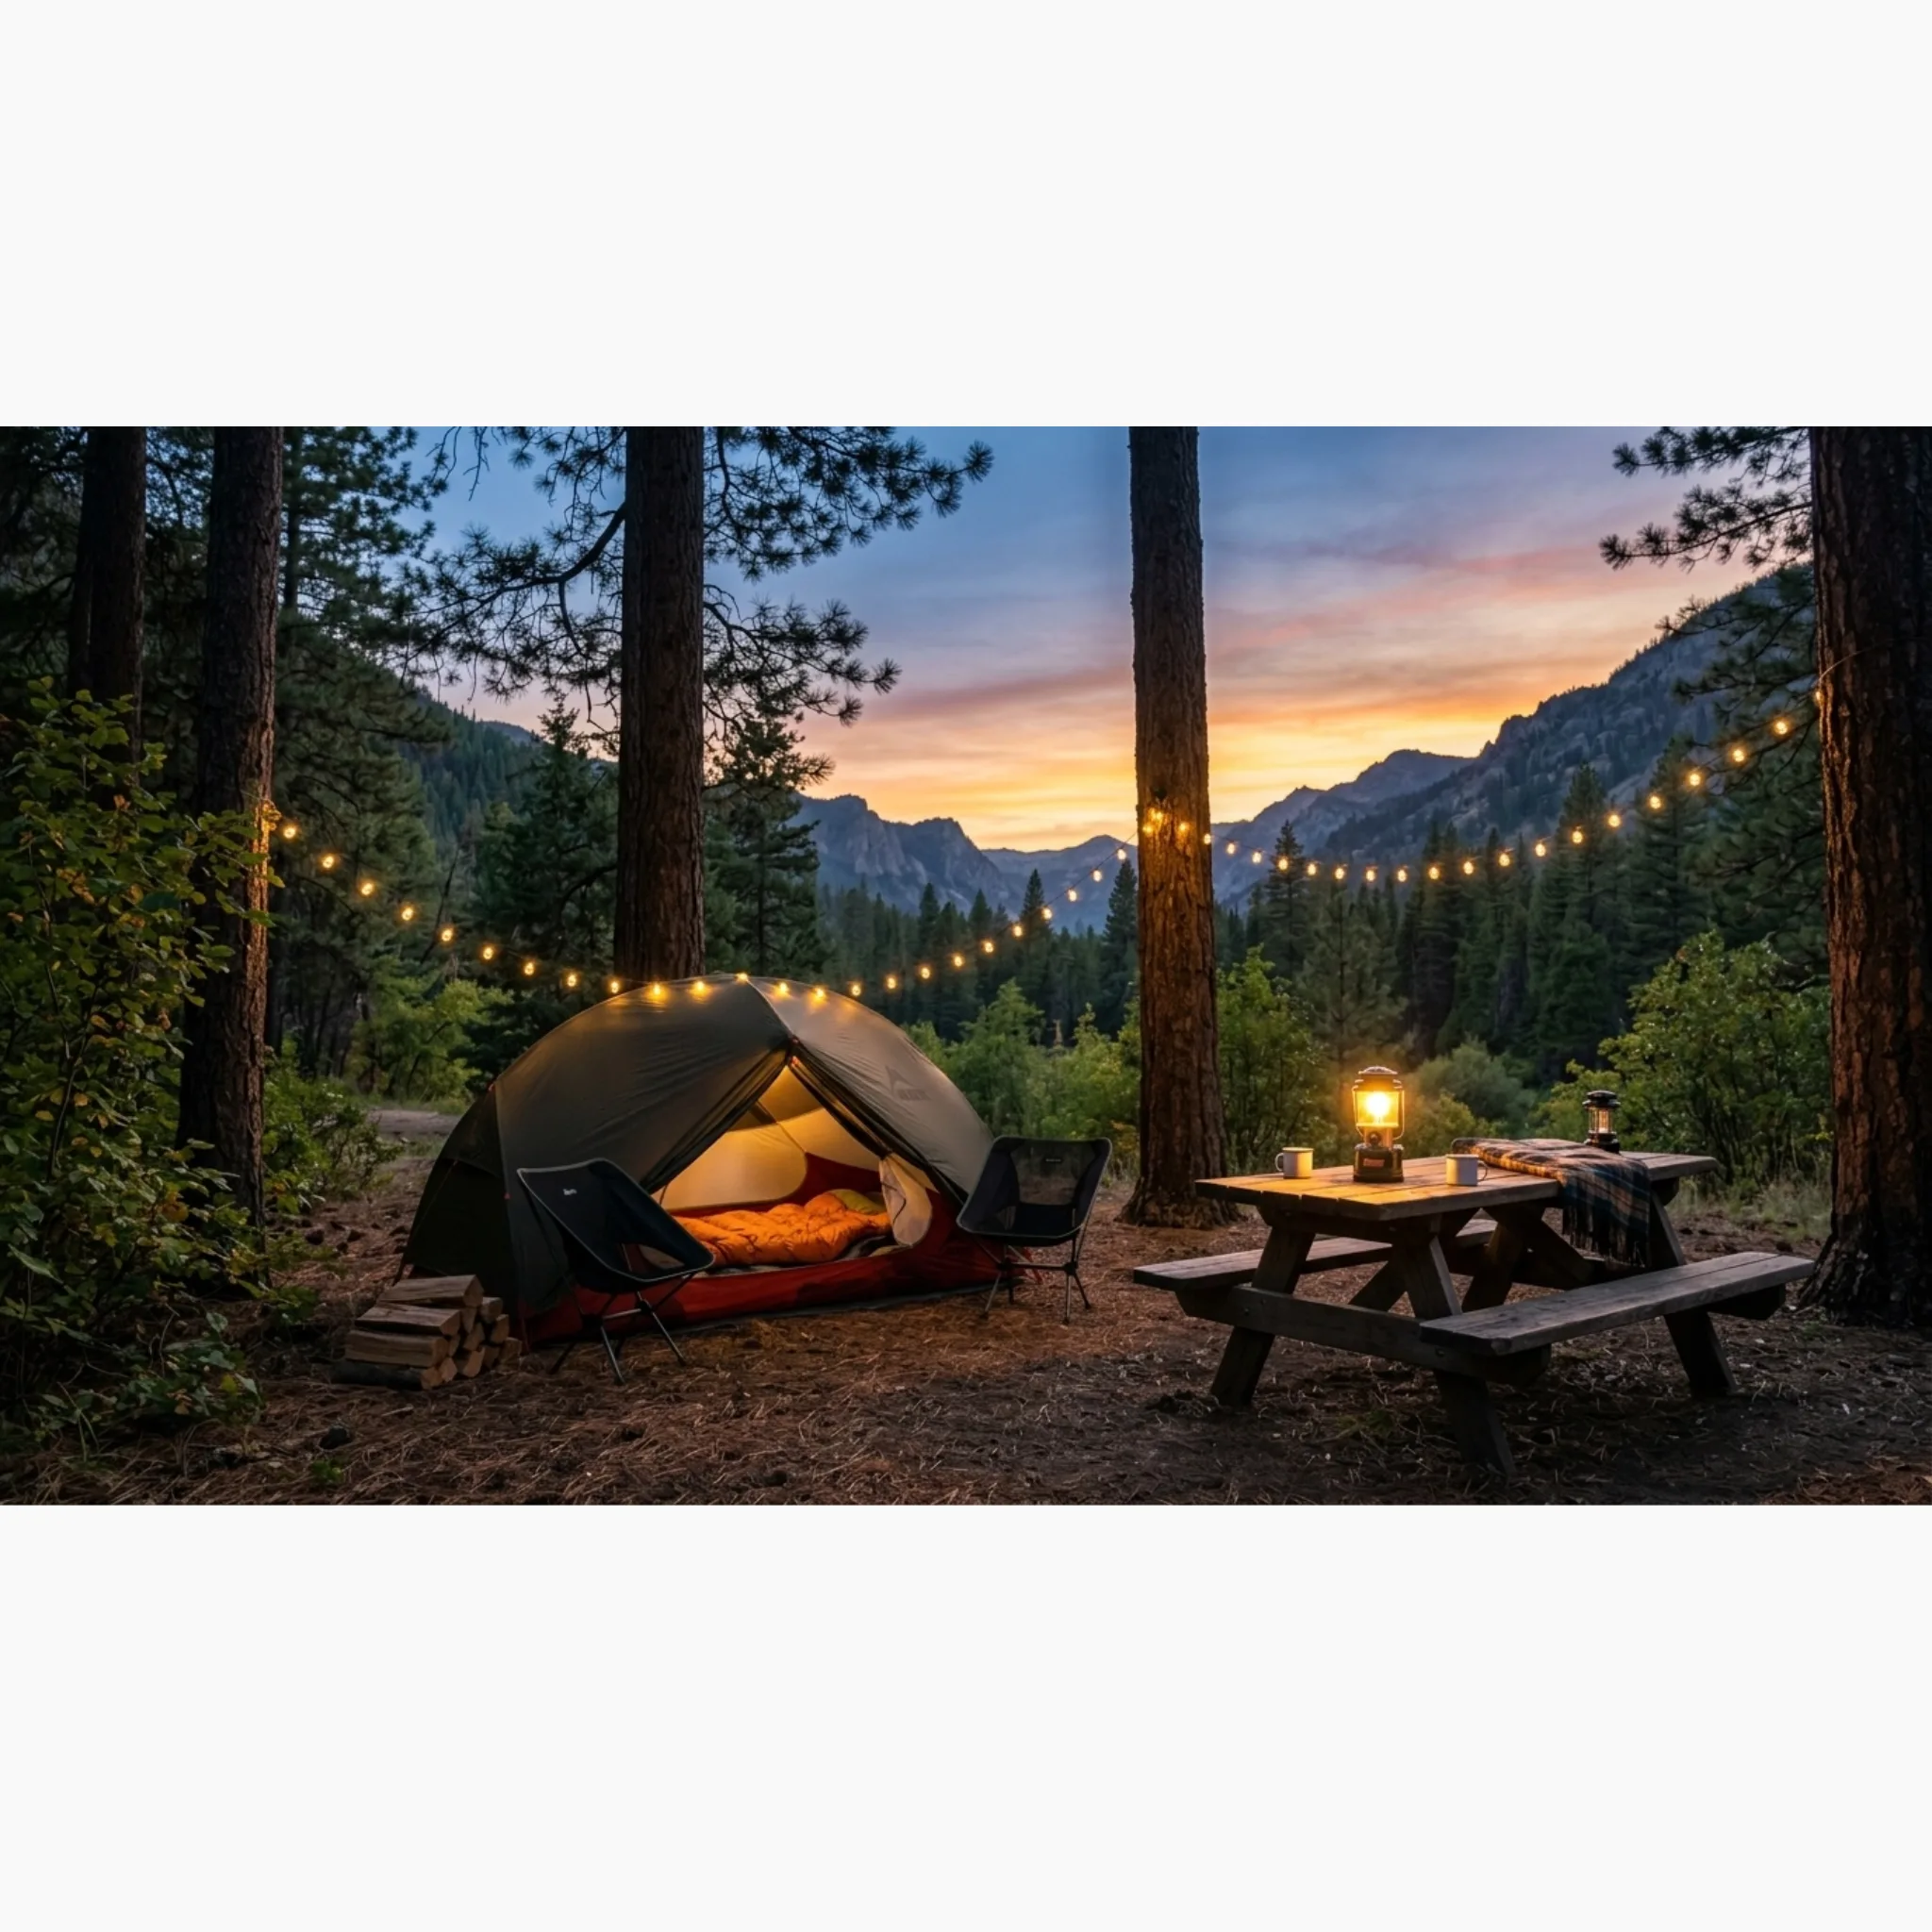
This is where the “cozy” part of “Cozy Camp” really happens. If you want your campsite to feel like a sanctuary rather than just a place where you’re sleeping outside, string lights (often called “fairy lights” or “globe lights”) are your best friend.
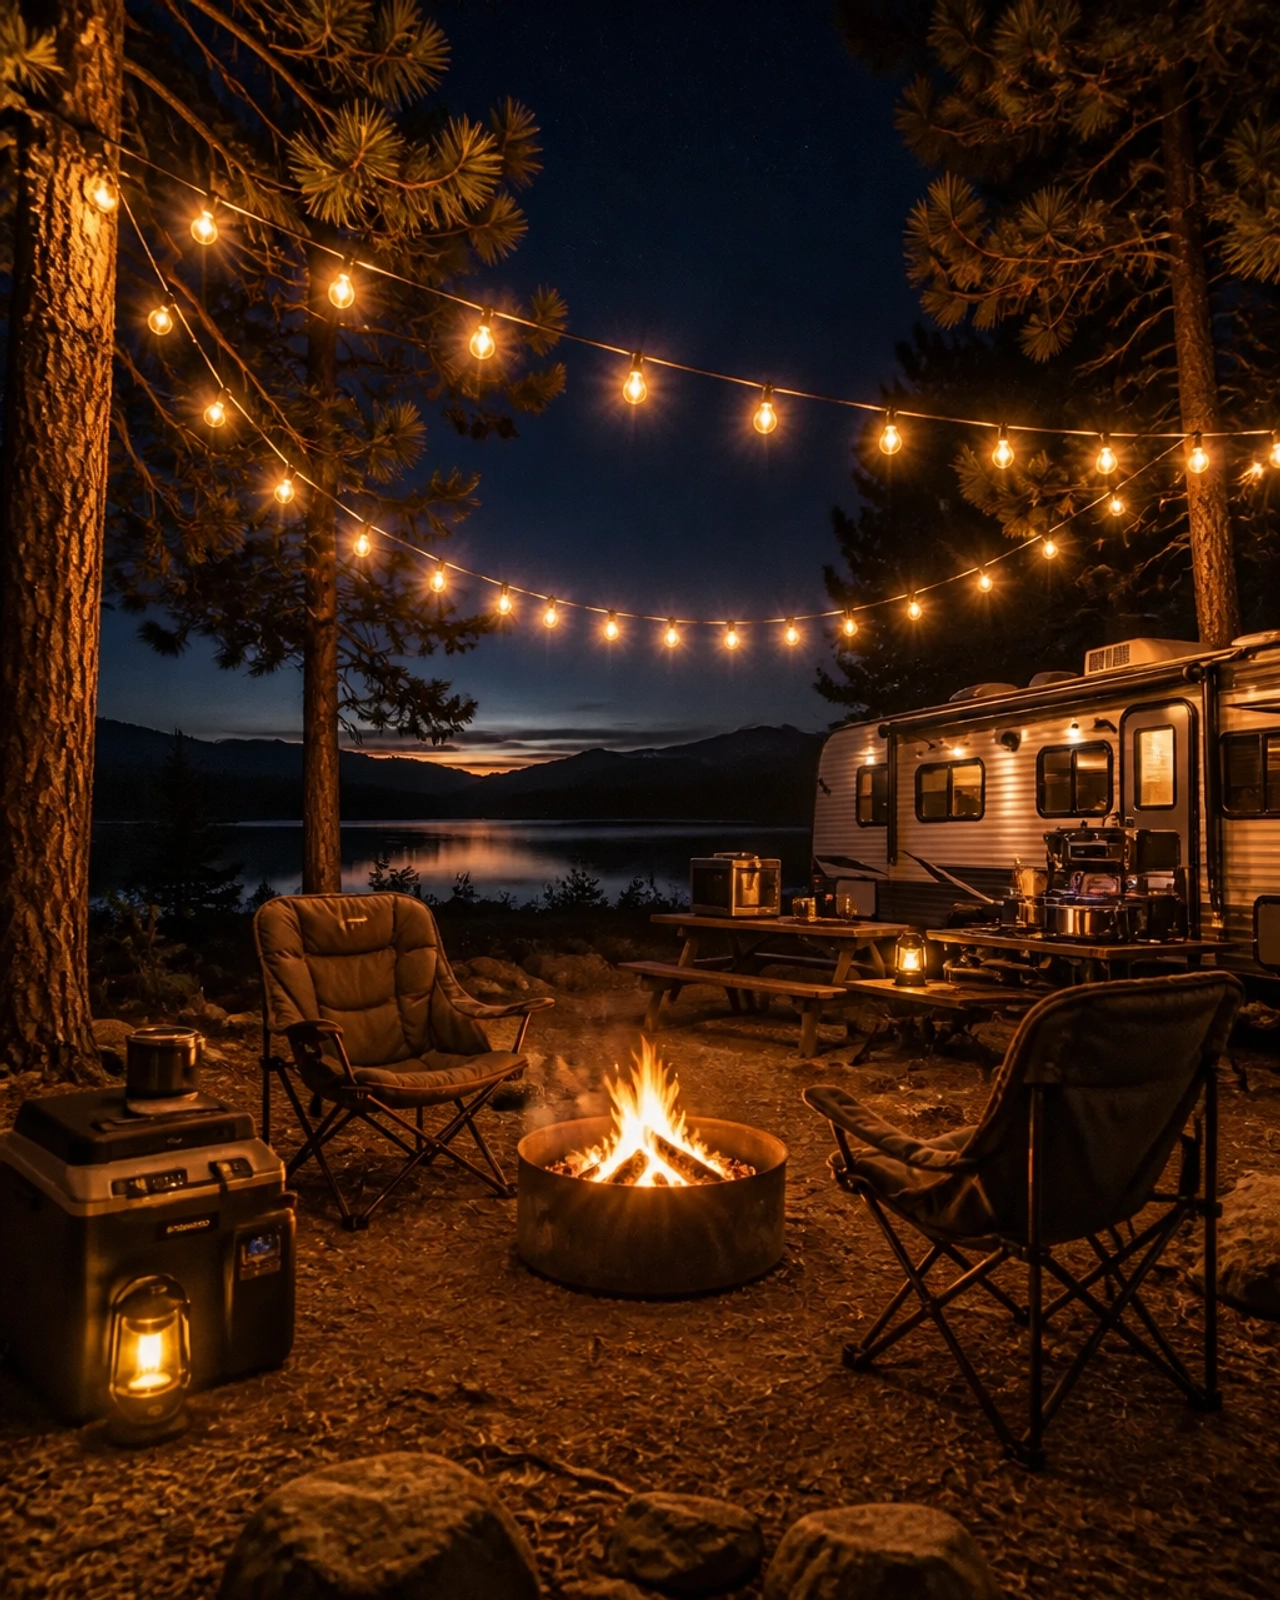
Why String Lights?
Unlike a single bright lantern that can create harsh shadows, string lights distribute soft light over a wide area. This creates a “warm hug” effect for your camp setup.
- Solar vs. Battery: Solar-powered string lights are great because they “set and forget.” They charge all day and turn on at dusk. However, if you’re camping under heavy tree cover, battery-powered or USB-rechargeable ones are more reliable.
- Safety First: When hanging lights, make sure they aren’t draped over anything that gets hot (like a stove) and ensure they are high enough that nobody will walk into them.
- Respect the Night: Use warm-white bulbs rather than cool-blue ones. Warm light is much more relaxing and mimics the natural glow of a campfire.
4. Safety & Navigation: Lighting the Way
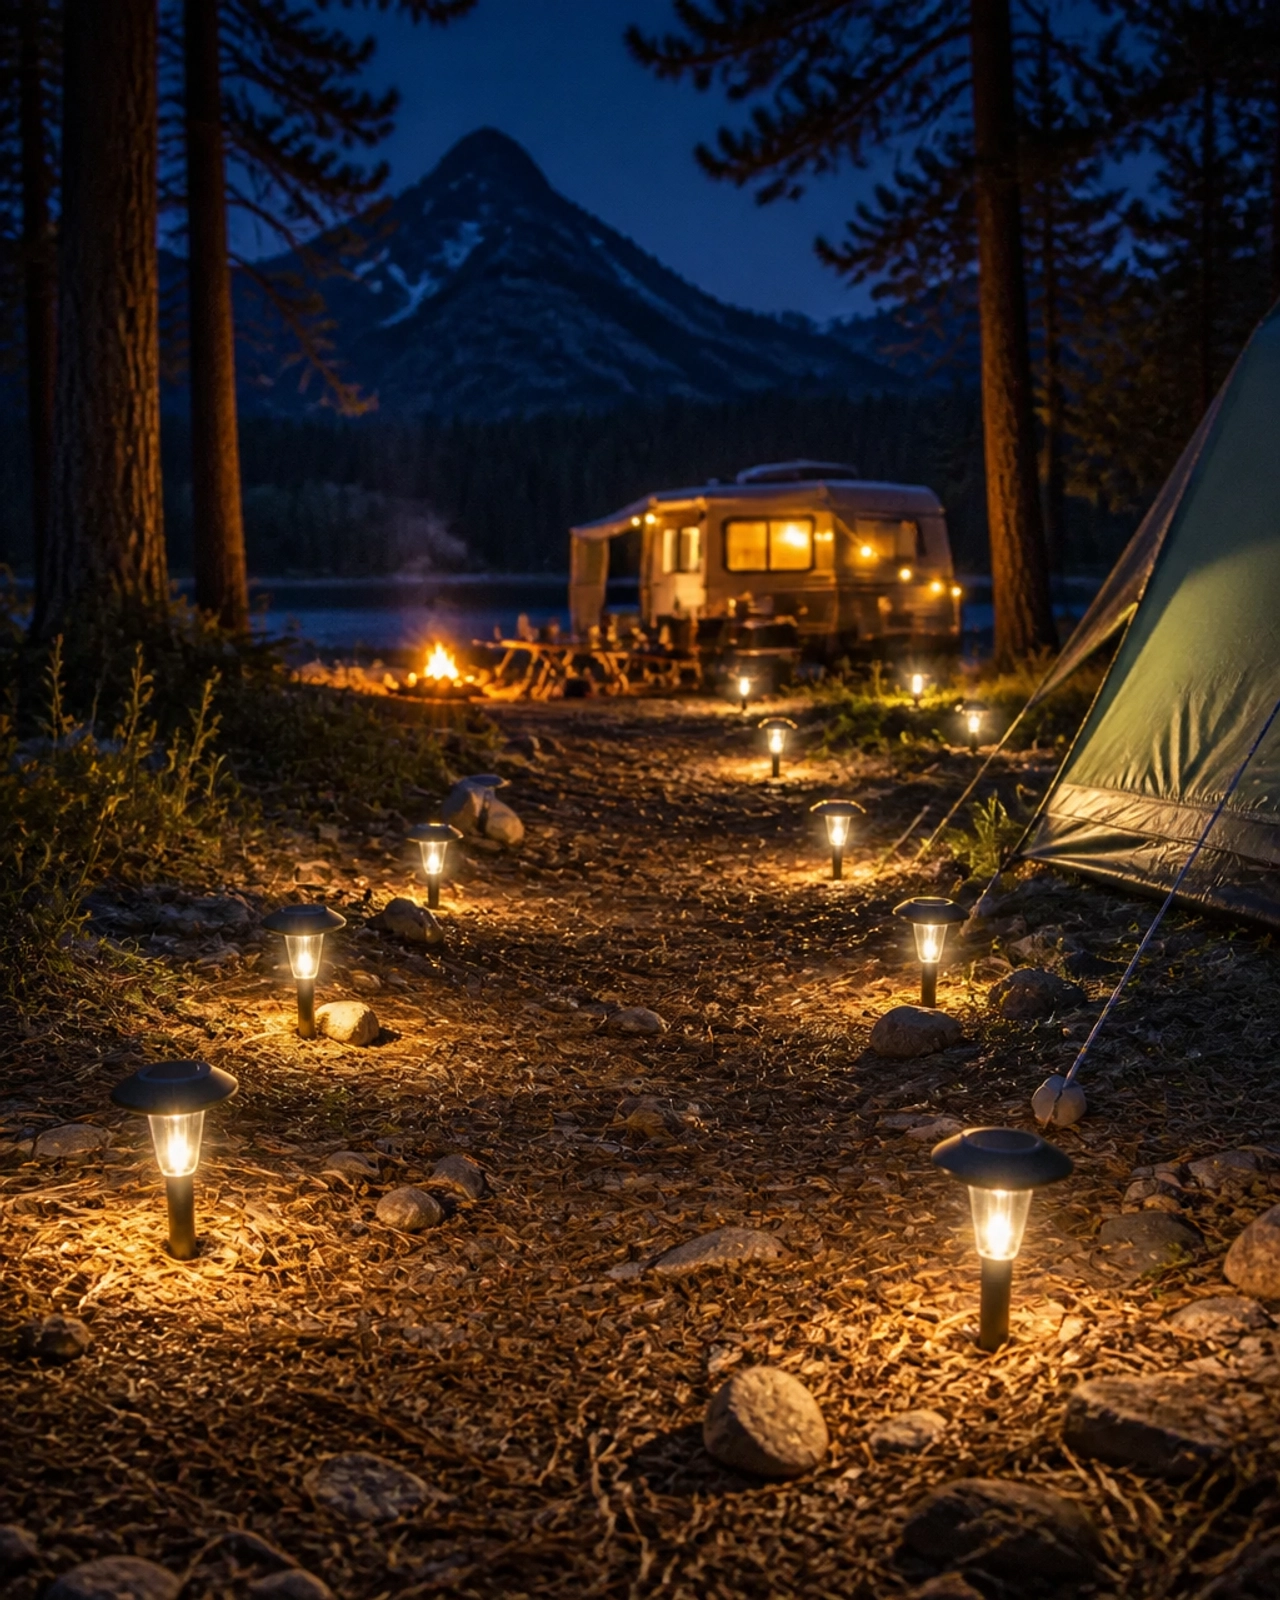
One of the most common beginner mistakes is forgetting to light the “danger zones.” In a campsite, these are usually the guy lines (the ropes holding up your tent) and the path to the bathroom.
Tripping Hazards
Tent guy lines are practically invisible at night, making them the #1 cause of campsite stumbles. To prevent this, you can use:
- Solar Stakes: Cheap solar-powered garden lights can be placed right next to your tent stakes to mark the boundary.
- Clip-on Lights: Small, inexpensive LED “glow sticks” can be clipped directly onto the ropes.
Marking the Trail
If you’re camping at a large campground, every site starts to look the same at 2:00 AM. Using a unique light: like a colored lantern or a specific string of lights: helps you find your way back from the comfort station without accidentally wandering into someone else’s site.
If you are an RV traveler, check out our Gear & Essentials for setup tools like leveling blocks and adapters that often require a bit of light to get right during a late-night arrival.
5. The Technical Bits: Lumens and Power
You don’t need to be an engineer to understand camping lights, but knowing a few terms will help you shop smarter.
How Many Lumens?
Lumens are just a measurement of how much light a bulb puts out.
- 10–50 Lumens: Perfect for inside a tent or as a dim nightlight.
- 100–200 Lumens: Great for a headlamp or a small table lantern.
- 300+ Lumens: Bright enough to light up the whole campsite (use these sparingly to be a good neighbor!).
Powering Your Glow
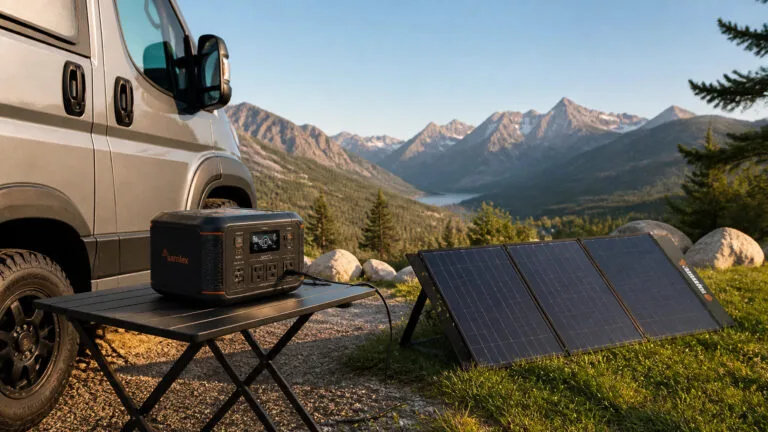
Most modern camping lights are rechargeable via USB. This is convenient, but it means you need a way to “fill them up” during your trip. A small portable power station or a high-capacity power bank is a great investment. It ensures your lights stay bright all weekend and your phone stays charged for those sunrise photos.
Being a Good Neighbor: The Unwritten Rules of Camp Lighting
Finally, part of the camping experience is enjoying the natural darkness and the stars. To be a “Chief Camper” in your community, keep these etiquette tips in mind:
- Shield Your Lights: Point lanterns downward or use shades so you aren’t blinding the people in the next site over.
- Dim at Bedtime: When you turn in for the night, turn off your bright “utility” lights. Leaving a low-glow string light on is usually fine, but avoid leaving high-powered floodlights on all night.
- Check for Light Pollution: If you can see the stars, you’re doing it right. If your campsite is visible from space, you might want to dial it back a notch!
Ready to Light Up Your Adventure?
Setting up a cozy camp doesn’t have to be complicated. By starting with a solid headlamp, adding a versatile lantern, and finishing with some warm string lights, you’ll create a space that’s safe, functional, and undeniably cozy.
At Chief Camper, we’re here to help you navigate every step of your journey: from your very first tent pitch to your hundredth campfire. Check out our full range of camping essentials to find the gear that makes your next adventure simpler, cleaner, and a whole lot more comfortable.
Happy (and bright) trails!