Late summer and early fall is when serious RV storage prep should start — not because the weather’s cold yet, but because it takes a full afternoon or two to do properly, and doing it before the first frost beats doing it in a rush the week temperatures drop. This checklist covers the full walk-around: the systems that need attention before your RV sits for the season, in roughly the order you’d tackle them.
1. Water System
This is the job with the highest cost if you skip it — a frozen line or water heater tank can mean a repair bill running into the hundreds or more. If you haven’t already, work through our full step-by-step guide to winterizing your RV water system, which covers draining the tank and lines, bypassing and draining the water heater, and pushing antifreeze through the plumbing. Don’t skip the low-point drains or the water heater bypass — those are the two steps people most often forget.
2. Battery Care
A battery left connected and unattended over a cold winter is one of the most common reasons people start next season with a dead RV. Either disconnect the battery, use a disconnect switch, or put it on a proper maintainer for the winter. We cover the full process, including the difference between lead-acid and lithium storage, in our RV battery winter storage guide.
3. Roof and Seals
Before you tuck the RV away for months, this is your last easy chance to catch a small leak before it becomes a big one. Walk the roof (carefully, and only if it’s rated for foot traffic) and check the sealant around vents, skylights, antennas, and the edges of slide-outs. Look for any cracking, peeling, or gaps in the sealant — these are the spots that let water in over a winter of freeze-thaw cycles and temperature swings. Our RV roof maintenance guide covers what to look for and how often to check it, and fall is exactly the right time to do this inspection since you’ll want any resealing done before cold weather sets in.
4. Tires and Weight
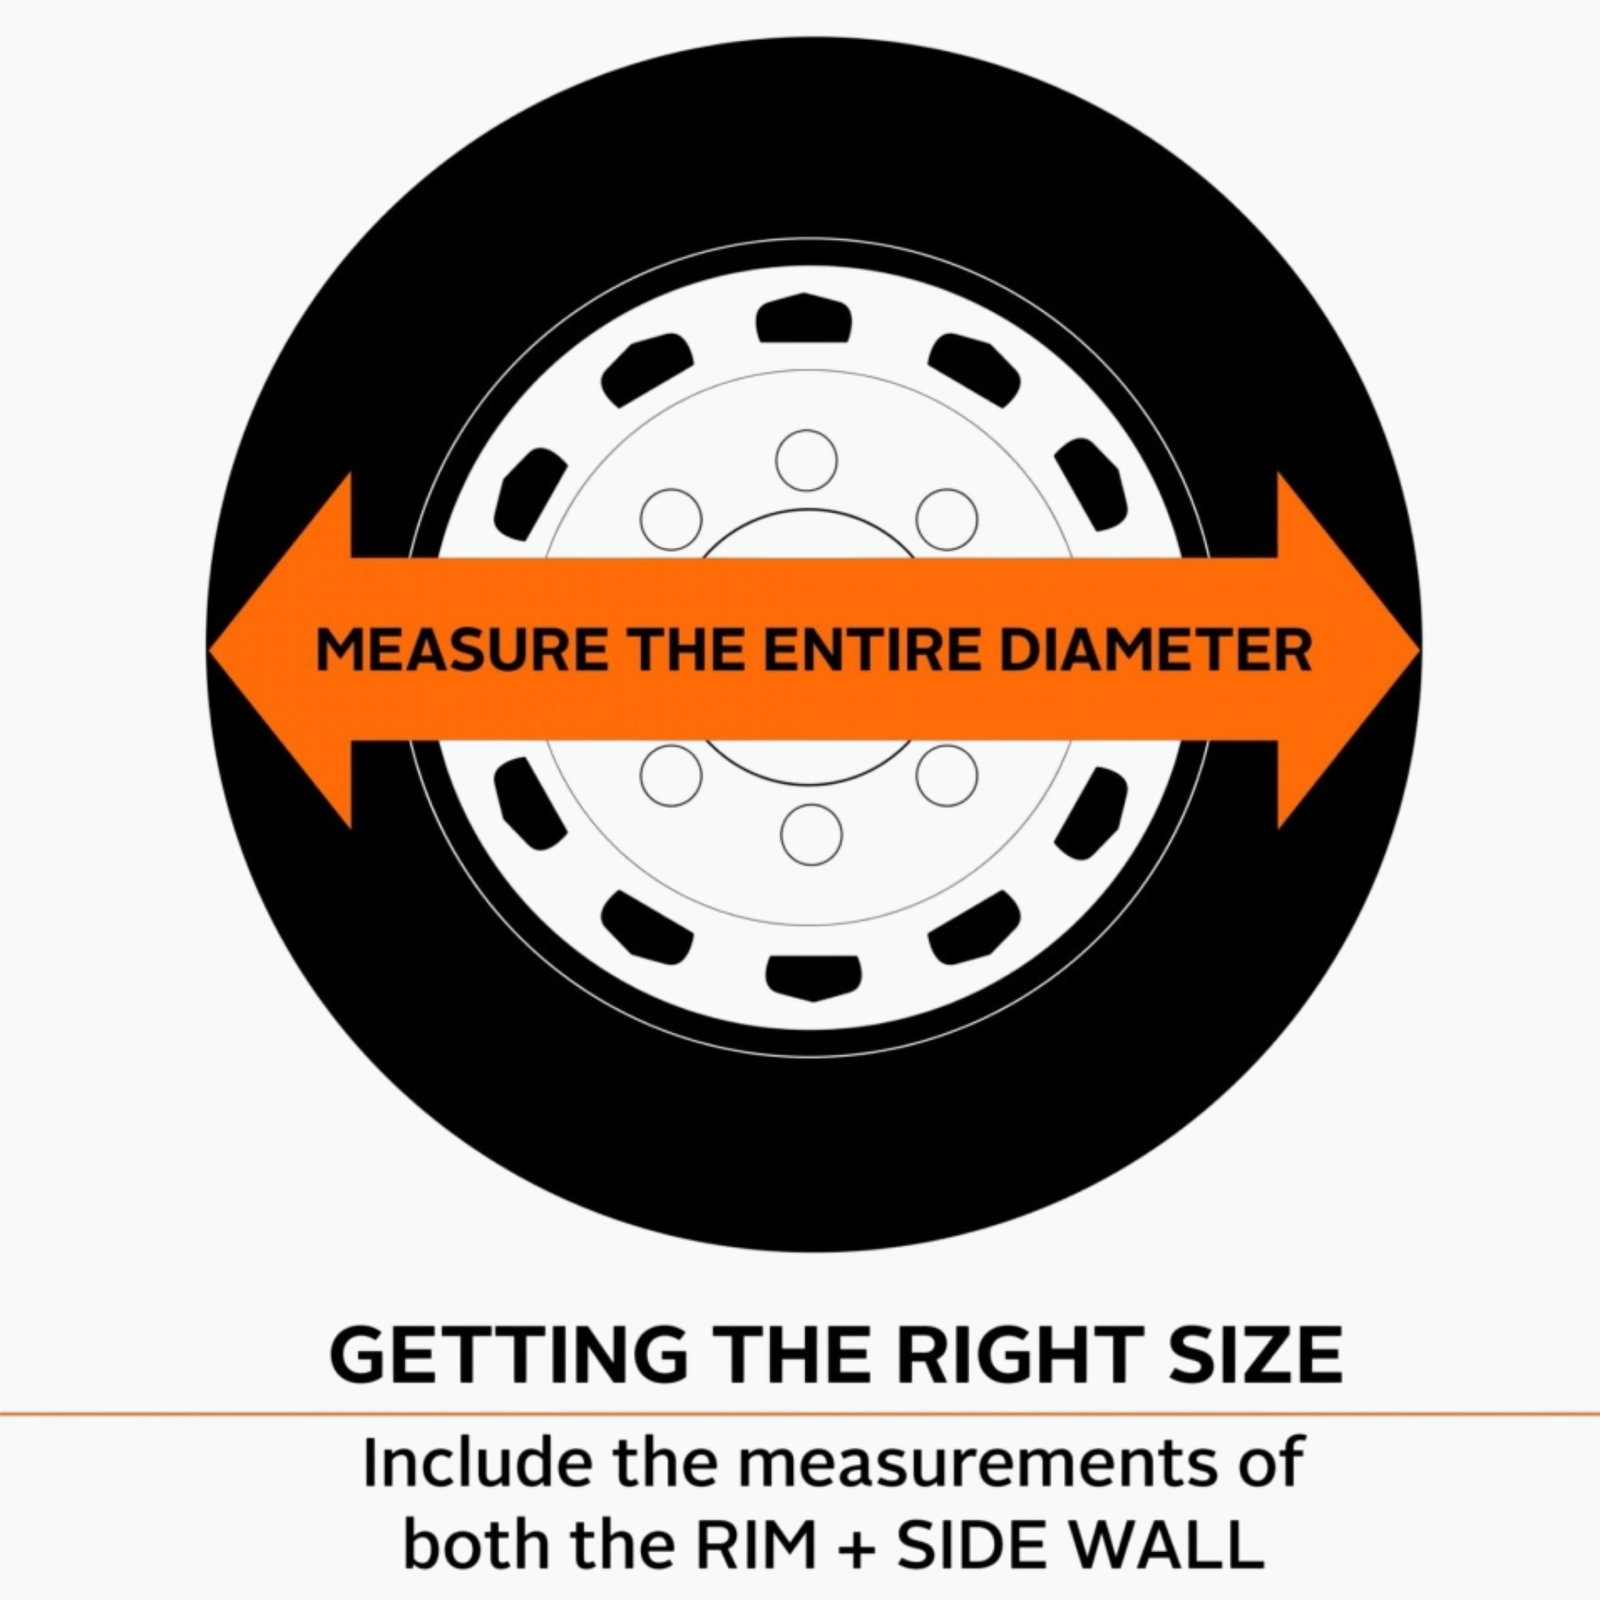
Sitting in one spot for months is hard on tires — flat-spotting is a real risk, especially in cold weather. If you can, move the RV periodically over a long storage period, or use tire cushions/leveling blocks designed to spread the load differently than the tire’s usual resting position. Check tire pressure before storage and top it up to the manufacturer’s recommended cold pressure (found on the tire’s sidewall or your RV’s data plate), since a properly inflated tire handles sitting still much better than an underinflated one. If you’re storing outside, a set of RV wheel covers helps protect the tires’ sidewalls against UV damage, which continues even when the RV isn’t moving.
5. Propane and Appliances
Turn off the propane tanks at the valve for the winter. If your RV has a residential-style fridge with an ice maker, check the manufacturer’s guidance on the water line — some need to be disconnected and drained separately rather than treated the same as the rest of the plumbing. For propane-powered fridges, prop the door open slightly during storage to prevent mold and odor from building up in a sealed, unused compartment.
6. Interior and Pest Prevention
Clean out the fridge and any food storage completely — even sealed packaging isn’t a guarantee against rodents over a long winter. Steel wool or purpose-made vent covers over exterior openings (fridge vents, furnace exhausts, plumbing penetrations) help keep mice and insects from finding their way in. Leaving a few cabinet doors and drawers slightly open can help with airflow and reduce musty smells building up in an enclosed space over the winter.
7. Exterior Walk-Around
Before you tow the RV to its storage spot, do a full walk-around: check that awnings are retracted and secured, slide-outs are in and locked, all exterior compartment doors are latched, and steps are retracted. If you’re towing any distance to reach storage, our RV Towing 101 guide covers the basics of a safe pre-tow check, including lights, hitch connections, and safety chains.
8. Cover or Shelter
Indoor or covered storage is the gentlest option for your RV over winter, protecting it from UV, snow load, and temperature swings all at once. If that’s not available, a quality breathable RV cover designed for your rig’s size helps protect the exterior finish and seals — just make sure it’s rated for breathability so moisture doesn’t get trapped underneath, which can actually cause more harm than leaving it uncovered.
A Simple Pre-Storage Checklist
- Water system drained, bypassed, and winterized
- Battery disconnected, on a maintainer, or fully charged and monitored
- Roof and seals inspected, any gaps resealed
- Tires checked, inflated, and cushioned or covered if stored outside
- Propane shut off at the tank valve
- Fridge cleaned out, door propped if propane-powered
- Pest-proofing done on exterior vents and openings
- Awnings, slides, steps, and compartment doors secured
- Covered or sheltered storage arranged if possible
Frequently Asked Questions
How far in advance should I start winter storage prep?
Late summer or early fall is a good window — before the first hard freeze, but with enough daylight and mild weather left to actually get through the list without rushing. Trying to squeeze it all into one cold weekend is how steps get skipped.
Do I need to winterize if I’m storing the RV somewhere heated?
If the storage space genuinely stays above freezing all winter, the water system is at lower risk — but battery care, roof inspection, tire care, and pest prevention are still worth doing regardless of storage temperature, since none of those depend on freezing conditions.
What’s the single most expensive thing to forget on this list?
The water system, without much competition. A cracked water heater tank or a split PEX line behind a wall is a far more expensive and disruptive repair than almost anything else on this checklist.
Don’t Rush the First Cold Snap
The reason this list is worth doing in late summer or early fall rather than waiting is simple: freezing temperatures don’t announce themselves days in advance, and a water system that isn’t winterized before the first hard freeze can crack overnight. Working through this checklist on a mild fall weekend, rather than scrambling the night before a cold front, is the difference between a routine afternoon of maintenance and an expensive surprise in spring.